Can you cook Hot Pockets in the oven?
That's the question we're tackling today, and let me tell you, it's a question worth asking.
Because let's be real, sometimes you want that perfectly heated, golden-brown Hot Pocket experience.
And figuring out the best way to cook a Hot Pocket, whether it's in the oven or another method, is essential knowledge for quick and easy meal satisfaction.
The oven, with its ability to provide even heat, can transform your Hot Pocket from a quick snack to a genuinely satisfying mini-meal.
So, let's dive into how to cook Hot Pockets in the oven for that ideal, crispy crust and molten filling.
Why Bother Cooking Hot Pockets in the Oven?
Okay, I get it, the microwave is fast.
But have you ever bitten into a Hot Pocket straight from the microwave, only to find a soggy crust and scalding hot filling?
Yeah, not the best.
That's where the oven comes in.
Here's why using the oven to cook your Hot Pockets is a game-changer:
- Crispy Crust: The oven's dry heat ensures the crust gets perfectly golden brown and crispy, avoiding that microwave sogginess.
- Even Heating: Say goodbye to hot spots! The oven distributes heat evenly, so your entire Hot Pocket is heated consistently.
- Enhanced Flavor: A crispy crust and evenly heated filling bring out the best in your Hot Pocket's flavor profile.
- A Superior Experience: Ultimately, baking your Hot Pocket delivers a far more enjoyable eating experience compared to microwaving.
Think of it this way: Microwaving is like a quick fling, while oven-baking is a long-term relationship.
Sure, it takes a little longer, but the payoff is worth it.
We're talking about upgrading your snack game here.
The Ultimate Guide: How to Cook Hot Pockets in the Oven
Alright, let's get down to the nitty-gritty.
I'm going to walk you through the best way to cook a Hot Pocket in the oven, step-by-step.
Step 1: Preheat Your Oven
Preheating is crucial for that golden-brown crust.
Set your oven to 350°F (175°C).
This temperature is the sweet spot for cooking your Hot Pocket all the way through without burning the outside.
Step 2: Prepare Your Hot Pocket
Remove your Hot Pocket from its packaging.
That cardboard sleeve?
Ditch it.
It's not oven-safe.
Some people like to lightly brush the crust with olive oil or melted butter for an extra golden and crispy finish.
This is totally optional, but it can elevate your Hot Pocket experience.
Step 3: Get Your Baking Sheet Ready
Grab a baking sheet.
Lining it with parchment paper or a silicone baking mat is optional, but it makes cleanup a breeze.
It also helps prevent the Hot Pocket from sticking to the pan.
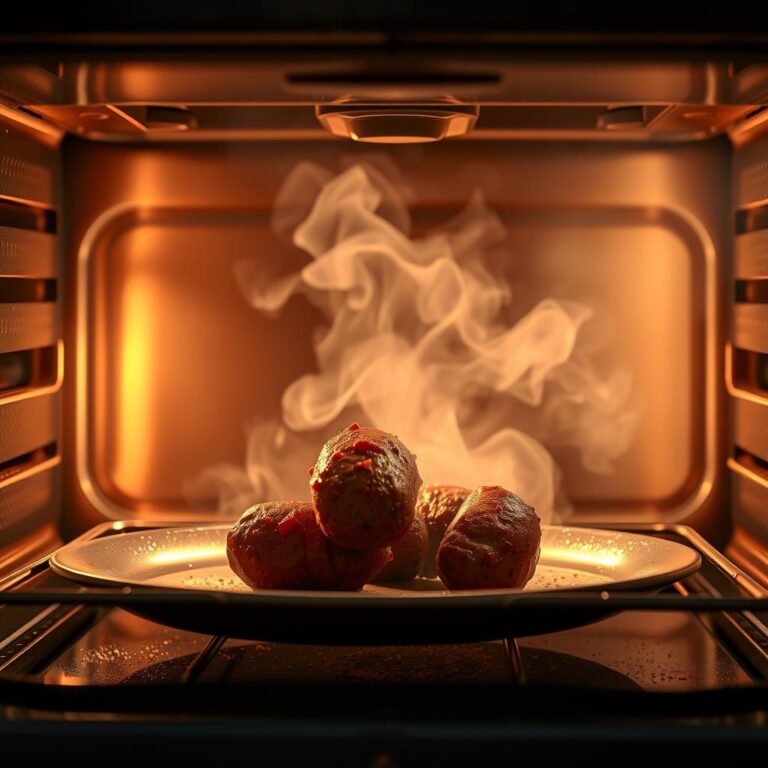
Step 4: Bake to Perfection
Place the Hot Pocket on the prepared baking sheet.
Bake for 25-30 minutes, or until the crust is golden brown and the filling is heated through.
The exact baking time may vary depending on your oven, so keep an eye on it.
For that golden, crispy crust, consider broiling for the last minute.
Step 5: Cool and Enjoy
Carefully remove the baking sheet from the oven.
Let the Hot Pocket cool for a few minutes before handling it.
The filling will be incredibly hot, so be patient!
Enjoy your perfectly cooked Hot Pocket!
Oven-Baked Hot Pocket: Pro Tips for Perfection
Want to take your oven-baked Hot Pocket game to the next level?
Here are a few pro tips to keep in mind:
- Don't overcrowd the baking sheet: Give your Hot Pockets enough space so the hot air can circulate properly.
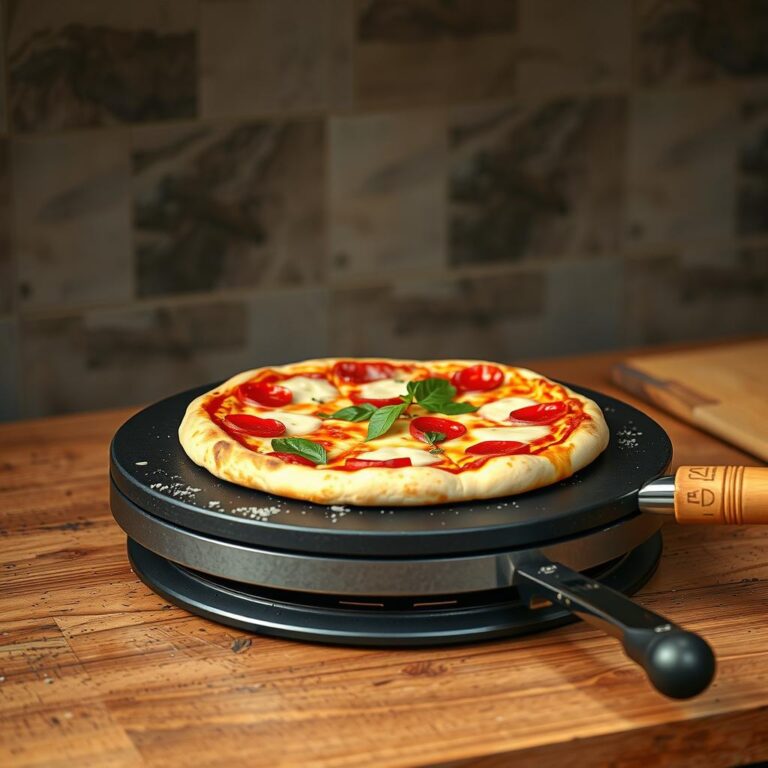
- Use a pizza stone: For an even crispier crust, try baking your Hot Pocket on a preheated pizza stone.
- Check the internal temperature: If you're really serious about food safety, use a meat thermometer to ensure the filling reaches 165°F (74°C).
- Experiment with seasonings: Sprinkle some garlic powder, Italian herbs, or Parmesan cheese on the crust before baking for added flavor.
- Customize your filling: Get creative and add extra cheese, vegetables, or meat to your Hot Pocket before baking.
Can You Cook Multiple Hot Pockets in the Oven at Once?
Yes, you absolutely can!
Just make sure to arrange them in a single layer on the baking sheet, leaving some space between each one for proper air circulation.
You might need to add a few extra minutes to the baking time if you're cooking multiple Hot Pockets at once.
What If My Hot Pocket is Still Frozen?
While it's always best to thaw your Hot Pocket before baking, sometimes you're in a hurry.
If you're baking a frozen Hot Pocket, add about 10-15 minutes to the baking time.
Keep a close eye on it to prevent burning.
Cooking hot pockets in the oven from a frozen state will take a little bit longer, but the end result will be worth it.
Baking Hot Pockets: It's Worth the Wait!
So, can you cook Hot Pockets in the oven?
Absolutely!
While it might take a bit longer than microwaving, the crispy crust and evenly heated filling make it a far superior way to enjoy this classic snack.
So next time you're craving a Hot Pocket, skip the microwave and give the oven a try.
You won't be disappointed.
Can you cook Hot Pockets in the oven?
That's the question we're tackling today, and let me tell you, it's a question worth asking.
Because let's be real, sometimes you want that perfectly heated, golden-brown Hot Pocket experience.
And figuring out the best way to cook a Hot Pocket, whether it's in the oven or another method, is essential knowledge for quick and easy meal satisfaction.
The oven, with its ability to provide even heat, can transform your Hot Pocket from a quick snack to a genuinely satisfying mini-meal.
So, let's dive into how to cook Hot Pockets in the oven for that ideal, crispy crust and molten filling.
Why Bother Cooking Hot Pockets in the Oven?
Okay, I get it, the microwave is fast.
But have you ever bitten into a Hot Pocket straight from the microwave, only to find a soggy crust and scalding hot filling?
Yeah, not the best.
That's where the oven comes in.
Here's why using the oven to cook your Hot Pockets is a game-changer:
- Crispy Crust: The oven's dry heat ensures the crust gets perfectly golden brown and crispy, avoiding that microwave sogginess.
- Even Heating: Say goodbye to hot spots! The oven distributes heat evenly, so your entire Hot Pocket is heated consistently.
- Enhanced Flavor: A crispy crust and evenly heated filling bring out the best in your Hot Pocket's flavor profile.
- A Superior Experience: Ultimately, baking your Hot Pocket delivers a far more enjoyable eating experience compared to microwaving.
Think of it this way: Microwaving is like a quick fling, while oven-baking is a long-term relationship.
Sure, it takes a little longer, but the payoff is worth it.
We're talking about upgrading your snack game here.
The Ultimate Guide: How to Cook Hot Pockets in the Oven
Alright, let's get down to the nitty-gritty.
I'm going to walk you through the best way to cook a Hot Pocket in the oven, step-by-step.
Step 1: Preheat Your Oven
Preheating is crucial for that golden-brown crust.
Set your oven to 350°F (175°C).
This temperature is the sweet spot for cooking your Hot Pocket all the way through without burning the outside.
Step 2: Prepare Your Hot Pocket
Remove your Hot Pocket from its packaging.
That cardboard sleeve?
Ditch it.
It's not oven-safe.
Some people like to lightly brush the crust with olive oil or melted butter for an extra golden and crispy finish.
This is totally optional, but it can elevate your Hot Pocket experience.
Step 3: Get Your Baking Sheet Ready
Grab a baking sheet.
Lining it with parchment paper or a silicone baking mat is optional, but it makes cleanup a breeze.
It also helps prevent the Hot Pocket from sticking to the pan.
Step 4: Bake to Perfection
Place the Hot Pocket on the prepared baking sheet.
Bake for 25-30 minutes, or until the crust is golden brown and the filling is heated through.
The exact baking time may vary depending on your oven, so keep an eye on it.
For that golden, crispy crust, consider broiling for the last minute.
Step 5: Cool and Enjoy
Carefully remove the baking sheet from the oven.
Let the Hot Pocket cool for a few minutes before handling it.
The filling will be incredibly hot, so be patient!
Enjoy your perfectly cooked Hot Pocket!
Oven-Baked Hot Pocket: Pro Tips for Perfection
Want to take your oven-baked Hot Pocket game to the next level?
Here are a few pro tips to keep in mind:
- Don't overcrowd the baking sheet: Give your Hot Pockets enough space so the hot air can circulate properly.
- Use a pizza stone: For an even crispier crust, try baking your Hot Pocket on a preheated pizza stone.
- Check the internal temperature: If you're really serious about food safety, use a meat thermometer to ensure the filling reaches 165°F (74°C).
- Experiment with seasonings: Sprinkle some garlic powder, Italian herbs, or Parmesan cheese on the crust before baking for added flavor.
- Customize your filling: Get creative and add extra cheese, vegetables, or meat to your Hot Pocket before baking.
Can You Cook Multiple Hot Pockets in the Oven at Once?
Yes, you absolutely can!
Just make sure to arrange them in a single layer on the baking sheet, leaving some space between each one for proper air circulation.
You might need to add a few extra minutes to the baking time if you're cooking multiple Hot Pockets at once.
What If My Hot Pocket is Still Frozen?
While it's always best to thaw your Hot Pocket before baking, sometimes you're in a hurry.
If you're baking a frozen Hot Pocket, add about 10-15 minutes to the baking time.
Keep a close eye on it to prevent burning.
Cooking hot pockets in the oven from a frozen state will take a little bit longer, but the end result will be worth it.
Baking Hot Pockets: It's Worth the Wait!
So, can you cook Hot Pockets in the oven?
Absolutely!
While it might take a bit longer than microwaving, the crispy crust and evenly heated filling make it a far superior way to enjoy this classic snack.
So next time you're craving a Hot Pocket, skip the microwave and give the oven a try.
You won't be disappointed.
Let’s dive deeper, because there's more to discuss about maximizing your oven-baked Hot Pocket experience.
Level Up Your Hot Pocket Game: Advanced Oven Techniques
You know the basics of how to cook Hot Pockets in the oven, but what about taking it to the next level?
Let's explore some advanced techniques that can seriously upgrade your snack game.
Achieving Maximum Crispiness: The Broiling Secret
Want that extra-crispy, almost-burnt-but-in-a-good-way crust?
Consider broiling your Hot Pocket for the last minute or two of baking.
Keep a close eye on it, because it can go from golden brown to charcoal faster than you think.
Broiling gives you that restaurant-quality crispiness that microwave cooking simply can't achieve.
The Pizza Stone Advantage: Even More Crispy Goodness
If you're serious about crispy crusts, a pizza stone is your best friend.
Preheat the pizza stone in the oven along with the oven itself.
Then, place your Hot Pocket directly on the hot stone for baking.
The stone helps to distribute heat evenly and draw moisture away from the crust, resulting in an incredibly crispy texture.
Elevating the Flavor Profile: Creative Seasoning Ideas
Don't be afraid to experiment with seasonings.
Before baking, sprinkle your Hot Pocket with:
- Garlic powder
- Onion powder
- Italian herbs
- Parmesan cheese
- Red pepper flakes (for a little kick)
These simple additions can transform the flavor of your Hot Pocket and make it feel like a gourmet snack.
Hot Pocket Ingredient Customization: Beyond the Basics
Why settle for the standard Hot Pocket fillings when you can customize your own?
Here's how to get creative with your Hot Pocket ingredients:
Adding Extra Cheese: Because More Cheese is Always Better
Who doesn't love extra cheese?
Before baking, carefully slice open your Hot Pocket and add a layer of your favorite cheese.
Mozzarella, cheddar, provolone – the choice is yours.
The melted cheese will add a gooey, delicious layer of flavor and texture.
Incorporating Veggies: Adding Some Nutrients to the Mix
Want to make your Hot Pocket a little healthier?
Add some veggies.
Pre-cooked vegetables like:
- Diced onions
- Bell peppers
- Mushrooms
- Spinach
can be added to the filling before baking.
This is a great way to sneak in some extra nutrients and add a bit of freshness to your snack.
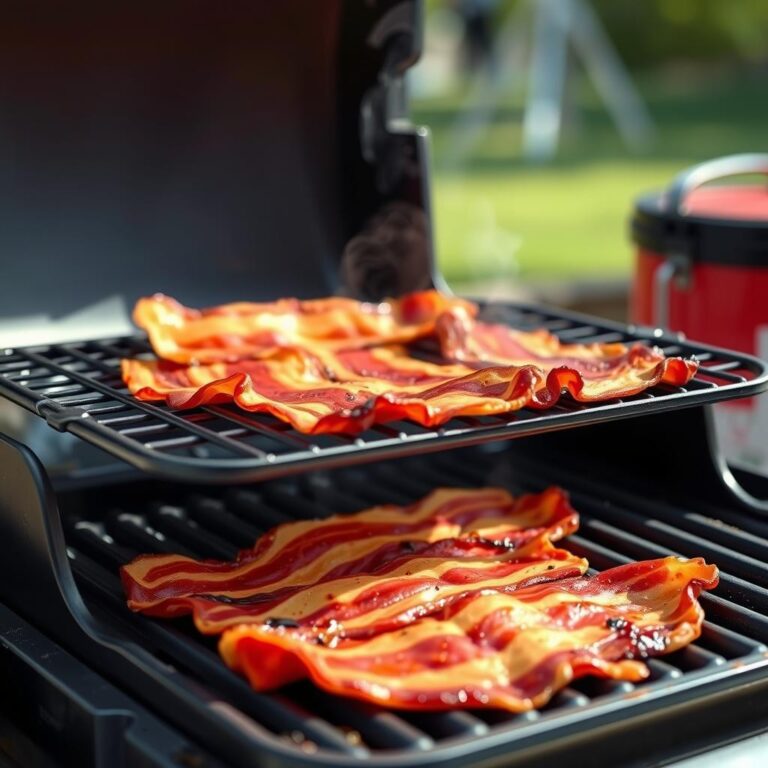
Boosting the Protein: Adding Meat for a Heartier Snack
For a more filling and protein-packed Hot Pocket, add some extra meat.
Cooked and crumbled:
- Sausage
- Bacon
- Ground beef
- Shredded chicken
work well.
Just make sure the meat is fully cooked before adding it to the Hot Pocket to avoid any food safety issues.
Solving Common Hot Pocket Oven-Baking Problems
Even with the best instructions, things can sometimes go wrong.
Let's tackle some common problems you might encounter when cooking Hot Pockets in the oven.
Problem: Hot Pocket is Burning on the Outside but Still Cold Inside
This usually happens when the oven temperature is too high.
Lower the temperature to 325°F (160°C) and bake for a longer time.
You can also tent the Hot Pocket with aluminum foil to prevent the outside from burning while the inside cooks through.
Problem: Hot Pocket is Soggy Instead of Crispy
This could be due to overcrowding the baking sheet or not preheating the oven properly.
Make sure to give your Hot Pockets enough space on the baking sheet and always preheat the oven before baking.
Also, avoid adding too many wet ingredients to the filling, as this can make the crust soggy.
Problem: Filling is Leaking Out of the Hot Pocket
This can happen if the Hot Pocket is overfilled or if the crust is torn.
Try to avoid overfilling your Hot Pocket with ingredients.
If you notice any tears in the crust, try patching them up with a small piece of dough before baking.
Hot Pocket Variety Showdown: Which Flavors Bake Best?
Not all Hot Pockets are created equal when it comes to oven baking.
Some flavors tend to bake better than others.
Here's a quick rundown:
- Pepperoni Pizza: A classic choice that bakes well and delivers a satisfying pizza flavor.
- Ham and Cheese: A reliable option that's perfect for a quick and easy snack.
- Philly Steak and Cheese: This flavor can be a bit tricky due to the filling's moisture content, but it's still delicious when baked properly.
- Buffalo Chicken: The spicy filling pairs well with a crispy crust, making this a popular choice for oven baking.
Hot Pockets: Other Cooking Methods Compared
While we've focused on oven baking, it's worth briefly comparing other cooking methods:
- Microwave: Fast and convenient, but often results in a soggy crust and uneven heating.
- Air Fryer: A great alternative to the oven, providing a crispy crust in less time.
- Toaster Oven: Similar to a regular oven, but smaller and more energy-efficient.
Ultimately, the best cooking method depends on your personal preferences and the amount of time you have available.
Hot Pocket Safety First: Key Food Safety Considerations
Before we wrap up, let's touch on food safety.
Always ensure that your Hot Pocket is cooked to an internal temperature of 165°F (74°C) to kill any harmful bacteria.
Use a meat thermometer to check the temperature of the filling.
Also, be careful when handling hot Hot Pockets, as the filling can be extremely hot and cause burns.
Frequently Asked Questions (FAQ) About Baking Hot Pockets
Q: How long do I cook a Hot Pocket in the oven?
A: Bake for 25-30 minutes at 350°F (175°C), or until the crust is golden brown and the filling is heated through.
Q: Can I cook a Hot Pocket in the oven if it's still frozen?
A: Yes, but you'll need to add about 10-15 minutes to the baking time.
Q: Do I need to thaw a Hot Pocket before baking it?
A: It's best to thaw it first, but you can bake it from frozen if necessary.
Q: Can I use a convection oven to cook Hot Pockets?
A: Yes, a convection oven can help to cook the Hot Pocket more evenly. Reduce the baking time by a few minutes and keep an eye on it to prevent burning.
Q: Is it safe to cook Hot Pockets in the oven?
A: Yes, as long as you follow the instructions and ensure that the filling reaches an internal temperature of 165°F (74°C).
Cooking hot pockets in the oven gives you that golden crust, that evenly heated center, that perfect snack.