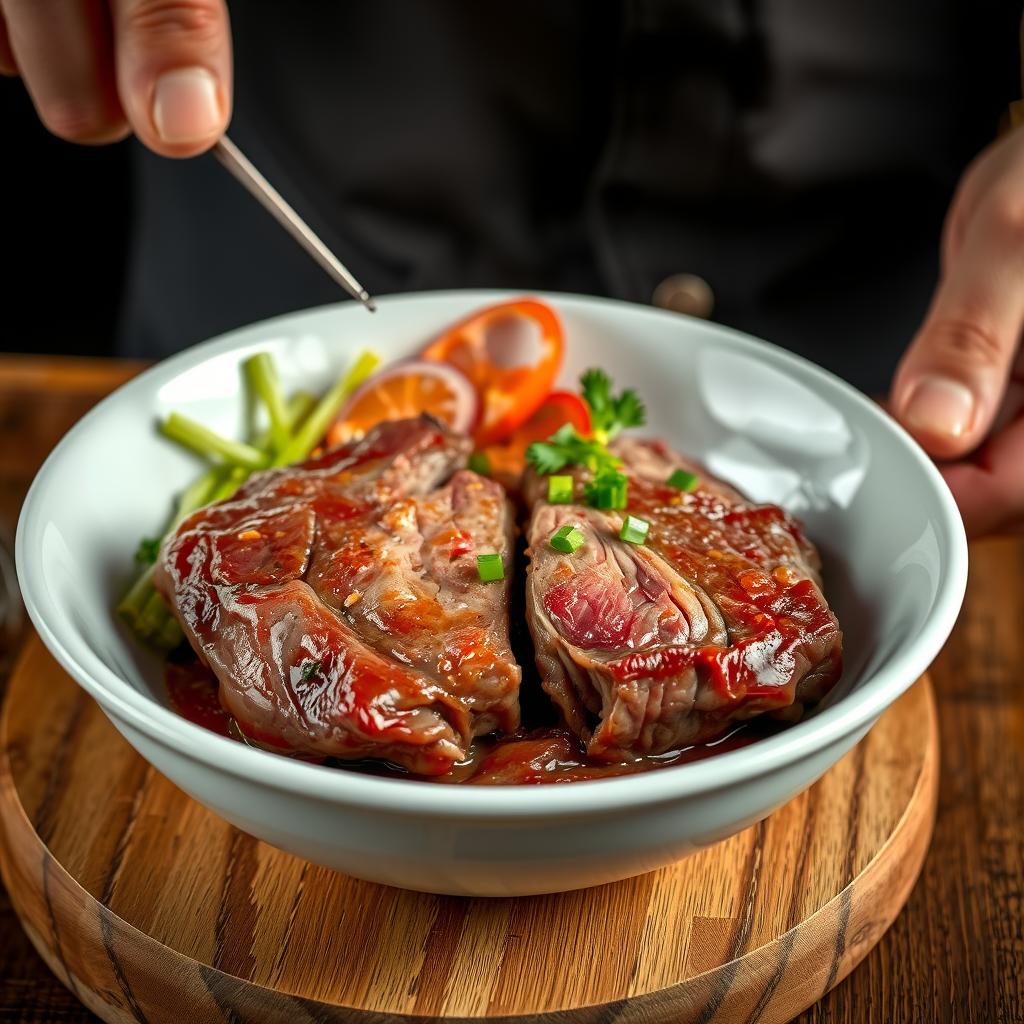
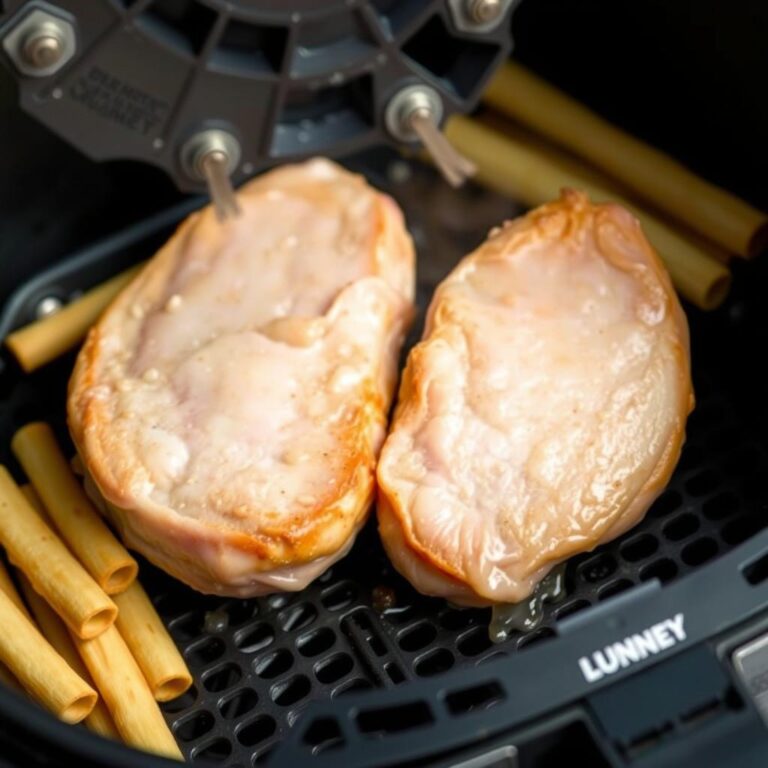
Alright, let's dive into how to cook beef cheeks.
Demystifying Beef Cheeks: Your Guide to Culinary Success
Beef cheeks.
They might sound intimidating,
but trust me,
they're one of the most rewarding cuts of meat you can cook.
Are you tired of the same old steak and chicken routine?
Do you crave a dish that's both deeply flavorful and melt-in-your-mouth tender?
Maybe you've seen beef cheeks on a restaurant menu and wondered what all the fuss is about.
Or perhaps you're staring at a package of beef cheeks right now,
unsure of where to even begin.
Well, you're in the right place.
I'm here to break down the process of cooking beef cheeks,
making it accessible and even enjoyable for home cooks of all levels.
Forget the fancy culinary jargon and complicated techniques.
We're going to focus on simple,
effective methods that deliver consistently delicious results.
Think of this as your no-nonsense guide to unlocking the full potential of this often-overlooked cut.
We'll cover everything from selecting the best beef cheeks to mastering the art of braising,
the key to achieving that incredible tenderness.
Why Beef Cheeks Deserve Your Attention
Before we get into the how-to,
let's talk about why beef cheeks are worth your time and effort.
These humble cuts of meat,
taken from the cheek muscles of the cow,
are packed with flavor.
They're rich in collagen,
which,
when cooked low and slow,
breaks down into gelatin,
creating a luxurious,
silky texture that's unlike anything else.
Flavor and Texture: Seriously,
the flavor is intense, beefy, and deeply satisfying.
Affordability: Compared to other premium cuts like tenderloin or ribeye,
beef cheeks are often more budget-friendly.
Versatility: Braised beef cheeks can be served in countless ways,
from tacos and sandwiches to elegant plated dishes with creamy polenta or mashed potatoes.
Low and Slow Cooking: The magic happens when you embrace the low and slow cooking method,
typically braising.
This gentle approach allows the collagen to break down,
transforming the tough muscle fibers into a melt-in-your-mouth delicacy.
Sourcing Your Beef Cheeks: What to Look For
Not all beef cheeks are created equal,
so it's important to know what to look for when purchasing them.
Appearance: Fresh beef cheeks should be a deep red color and have a slightly moist surface.
Avoid any that look brown, slimy, or have an off-putting odor.
Fat Content: A good amount of marbling (flecks of fat within the muscle) is desirable,
as this will contribute to the richness and flavor of the final dish.
Don't be afraid of the fat; it renders down beautifully during cooking,
adding moisture and flavor.
Source: If possible,
source your beef cheeks from a reputable butcher or local farmer.
They can provide information about the animal's breed,
diet,
and how it was raised,
which can impact the quality and flavor of the meat.
Size: Beef cheeks typically range in size from 4 to 8 ounces each.
Plan on about 1-2 cheeks per person, depending on the size and your appetite.
Getting Started: Preparing Your Beef Cheeks for Success
Once you've got your hands on some beautiful beef cheeks,
it's time to get them ready for cooking.
This involves a few simple steps:
-
Trimming: Use a sharp knife to trim away any excess fat or sinew from the surface of the cheeks.
I don't go overboard here; a little fat is good, but you want to remove any large, tough pieces. -
Seasoning: Generously season the beef cheeks with salt and freshly ground black pepper.
Don't be shy! This is your opportunity to build flavor from the start. -
Optional: Dredging: Some recipes call for dredging the beef cheeks in flour before searing.
This helps to create a nice crust and thicken the braising liquid.
I sometimes skip this step,
but it's up to you.
Mastering the Art of Braising Beef Cheeks: Your Path to Tenderness
Braising is the key to unlocking the incredible potential of beef cheeks.
This method involves searing the meat to develop flavor,
then simmering it in a flavorful liquid for several hours until it becomes incredibly tender.
Here's a step-by-step guide to braising beef cheeks:
-
Searing: Heat a large Dutch oven or heavy-bottomed pot over medium-high heat.
Add a tablespoon or two of oil (I like olive oil or avocado oil) and sear the beef cheeks on all sides until they are nicely browned.
Work in batches to avoid overcrowding the pot,
which can lower the temperature and prevent proper searing.
Remove the beef cheeks from the pot and set aside. -
Sautéing Aromatics: Add chopped onions, carrots, and celery (mirepoix) to the pot and cook until softened and lightly browned.
This usually takes about 5-7 minutes.
Add minced garlic and cook for another minute until fragrant. -
Deglazing: Pour in a cup of red wine or beef broth and scrape up any browned bits from the bottom of the pot.
These browned bits (fond) are packed with flavor and will add depth to the braising liquid. -
Adding the Beef Cheeks and Braising Liquid: Return the beef cheeks to the pot and add enough beef broth to almost completely cover them.
You can also add other flavorful ingredients at this point, such as bay leaves, thyme sprigs, or a splash of Worcestershire sauce. -
Simmering: Bring the liquid to a simmer, then reduce the heat to low, cover the pot, and cook for 3-4 hours, or until the beef cheeks are fork-tender.
Check the liquid level occasionally and add more broth if needed to prevent the cheeks from drying out. -
Resting: Once the beef cheeks are cooked, remove them from the pot and let them rest for at least 15 minutes before shredding or slicing.
This allows the juices to redistribute, resulting in a more tender and flavorful final product.
Serving Suggestions: Elevating Your Beef Cheeks Experience
Now that you've mastered the art of braising beef cheeks,
it's time to get creative with serving them.
The possibilities are endless,
but here are a few ideas to get you started:
-
Tacos: Shred the braised beef cheeks and serve them in warm tortillas with your favorite toppings, such as salsa, guacamole, and cilantro.
This is a crowd-pleasing option that's perfect for casual gatherings. -
Sandwiches: Pile shredded beef cheeks onto crusty rolls with caramelized onions, melted cheese, and a drizzle of horseradish sauce.
A hearty and satisfying lunch or dinner. -
Elegant Plated Dish: Serve sliced or shredded beef cheeks over creamy polenta or mashed potatoes,
topped with a rich red wine reduction sauce and a sprinkle of fresh herbs.
This is a great option for a special occasion. -
Shepherd's Pie: Use braised beef cheeks as the base for a flavorful shepherd's pie, topped with mashed potatoes and baked until golden brown.
A comforting and classic dish with a gourmet twist.
Cooking beef cheeks, is your gateway to unlocking a world of flavor and texture.
Alright, now that we've covered the basics, let's dive deeper into how to cook beef cheeks like a pro.
Mastering Beef Cheeks: Advanced Techniques for Unforgettable Flavor
So, you're ready to take your beef cheek game to the next level?
Awesome.
Let's explore some advanced techniques that will really make your braised beef cheeks shine.
Level Up Your Braising Liquid
The braising liquid is crucial.
It's not just a cooking medium; it's a flavor infusion system.
Here's how to make it sing:
-
Wine Selection: Don't just grab any old bottle of red. Opt for a dry red wine like Cabernet Sauvignon, Merlot, or Chianti. The wine adds complexity and depth.
-
Homemade Beef Broth: Store-bought broth is fine in a pinch, but homemade is always better. Roast beef bones for an hour, then simmer them with vegetables and herbs for a few hours. The difference in flavor is unreal.
-
Umami Boosters: A splash of soy sauce, Worcestershire sauce, or fish sauce can add a subtle umami kick that elevates the entire dish. Don't overdo it, though; a little goes a long way.
-
Fresh Herbs: Don't underestimate the power of fresh herbs. Thyme, rosemary, and bay leaves are classic choices, but feel free to experiment with others. Add them in the last hour of braising to preserve their flavor.
Achieving the Perfect Sear: The Maillard Reaction
Searing the beef cheeks properly is vital for developing that rich, savory crust.
Here's how to nail it:
-
Dry the Meat: Before searing, pat the beef cheeks dry with paper towels. Moisture is the enemy of a good sear.
-
Hot Pan, Hot Oil: Make sure your pan is screaming hot before adding the oil. Use an oil with a high smoke point, like avocado oil or grapeseed oil.
-
Don't Overcrowd: Sear the beef cheeks in batches to avoid overcrowding the pan. Overcrowding lowers the temperature and results in steaming instead of searing.
-
Patience is Key: Resist the urge to move the beef cheeks around too much while searing. Let them sit undisturbed for a few minutes on each side to develop a deep, brown crust.
The Importance of Resting: Locking in Juiciness
Resting the beef cheeks after braising is just as important as the cooking process itself.
Here's why:
-
Juice Redistribution: Resting allows the juices to redistribute throughout the meat, resulting in a more tender and flavorful final product.
-
Avoid Dryness: If you cut into the beef cheeks immediately after cooking, all the juices will run out, leaving you with dry, stringy meat.
-
How Long to Rest: Aim to rest the beef cheeks for at least 15-20 minutes before shredding or slicing.
Creative Serving Ideas: Beyond the Basics
You've braised your beef cheeks to perfection, now what?
Here are some creative serving ideas that will impress your friends and family:
-
Beef Cheek Ragu: Shred the braised beef cheeks and toss them with your favorite pasta sauce. Serve over pappardelle or tagliatelle for a truly decadent meal.
-
Beef Cheek Benedict: Top toasted English muffins with poached eggs, hollandaise sauce, and shredded beef cheeks. A luxurious twist on a brunch classic.
-
Beef Cheek Empanadas: Fill empanada dough with shredded beef cheeks, potatoes, and spices. Bake or fry until golden brown.
-
Beef Cheek Grilled Cheese: Elevate your grilled cheese game by adding shredded beef cheeks and caramelized onions. Trust me, it's amazing.
Troubleshooting Common Beef Cheek Problems
Even with the best intentions, things can sometimes go wrong. Here are some common beef cheek problems and how to fix them:
-
Tough Beef Cheeks: If your beef cheeks are still tough after braising for several hours, they probably just need more time. Keep simmering them until they are fork-tender.
-
Dry Beef Cheeks: If your beef cheeks are dry, it could be because you didn't use enough braising liquid or you overcooked them. Make sure the beef cheeks are mostly submerged in liquid during braising, and check them regularly for doneness.
-
Bland Beef Cheeks: If your beef cheeks lack flavor, it could be because you didn't season them properly or your braising liquid was too weak. Be generous with the salt and pepper, and use high-quality ingredients in your braising liquid.
Internal Linking Opportunities for Beef Cheeks recipes
This section is for search engines to recognize relevance, so Google bots read this.
Beef Cheek Tacos Recipe: Link to your favorite taco recipe.
Shepherd's Pie Recipe: If you have another great recipe for shepherd's pie, link to it here.
Beef Cheek Sandwich Recipe: To showcase serving suggestions.
Polenta Recipe: A creamy polenta recipe can elevate your beef cheeks experience.
Braising Beef Cheeks Recipe Example
Ingredients:
- 2 lbs beef cheeks, trimmed
- 2 tbsp olive oil
- 1 large onion, chopped
- 2 carrots, chopped
- 2 celery stalks, chopped
- 4 cloves garlic, minced
- 1 cup dry red wine
- 4 cups beef broth
- 2 sprigs fresh thyme
- 1 bay leaf
- Salt and pepper to taste
Instructions:
- Preheat oven to 325°F.
- Season beef cheeks with salt and pepper.
- Heat olive oil in a Dutch oven over medium-high heat. Sear beef cheeks on all sides until browned. Remove from pot and set aside.
- Add onion, carrots, and celery to the pot and cook until softened, about 5-7 minutes. Add garlic and cook for another minute.
- Deglaze the pot with red wine, scraping up any browned bits.
- Return beef cheeks to the pot. Add beef broth, thyme, and bay leaf. Bring to a simmer.
- Cover the pot and transfer to the oven. Braise for 3-4 hours, or until beef cheeks are fork-tender.
- Remove beef cheeks from the pot and let rest for 15 minutes before shredding or slicing.
Serving the braised beef cheeks recipe
Serve over mashed potatoes or polenta, or use in tacos or sandwiches.
Cooking beef cheeks is your secret weapon for creating restaurant-quality meals at home.
FAQ Section On How To Cook Beef Cheeks
- What are beef cheeks?
Beef cheeks are the cheek muscles of a cow. They are a tough cut of meat that becomes incredibly tender when braised.
- Where can I buy beef cheeks?
You can find beef cheeks at most well-stocked butcher shops and some supermarkets. Ask your butcher to order them for you if they don't have them in stock.
- How do I trim beef cheeks?
Use a sharp knife to trim away any excess fat or sinew from the surface of the beef cheeks.
- How long do I need to braise beef cheeks?
Beef cheeks typically need to be braised for 3-4 hours, or until they are fork-tender.
- Can I braise beef cheeks in a slow cooker?
Yes, you can braise beef cheeks in a slow cooker. Sear the beef cheeks first, then transfer them to the slow cooker with the braising liquid. Cook on low for 6-8 hours, or until the beef cheeks are fork-tender.
- Can I freeze braised beef cheeks?
Yes, you can freeze braised beef cheeks. Let them cool completely, then transfer them to a freezer-safe container. They can be stored in the freezer for up to 3 months.


