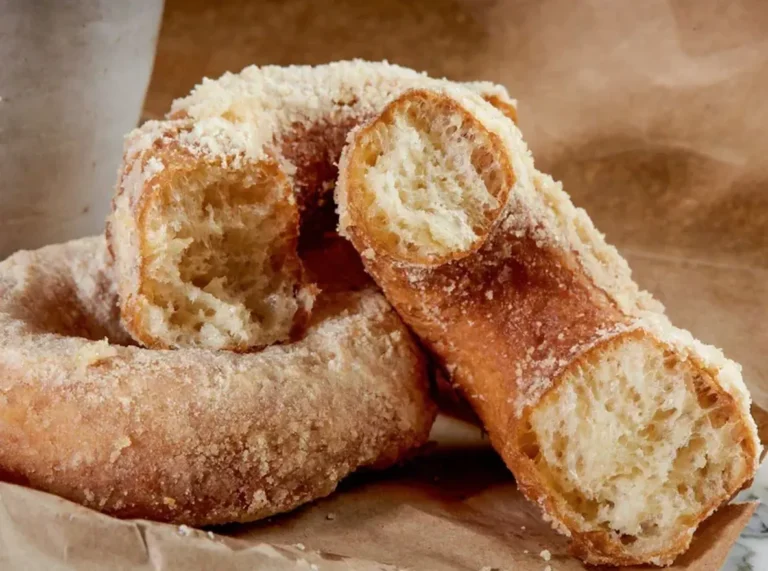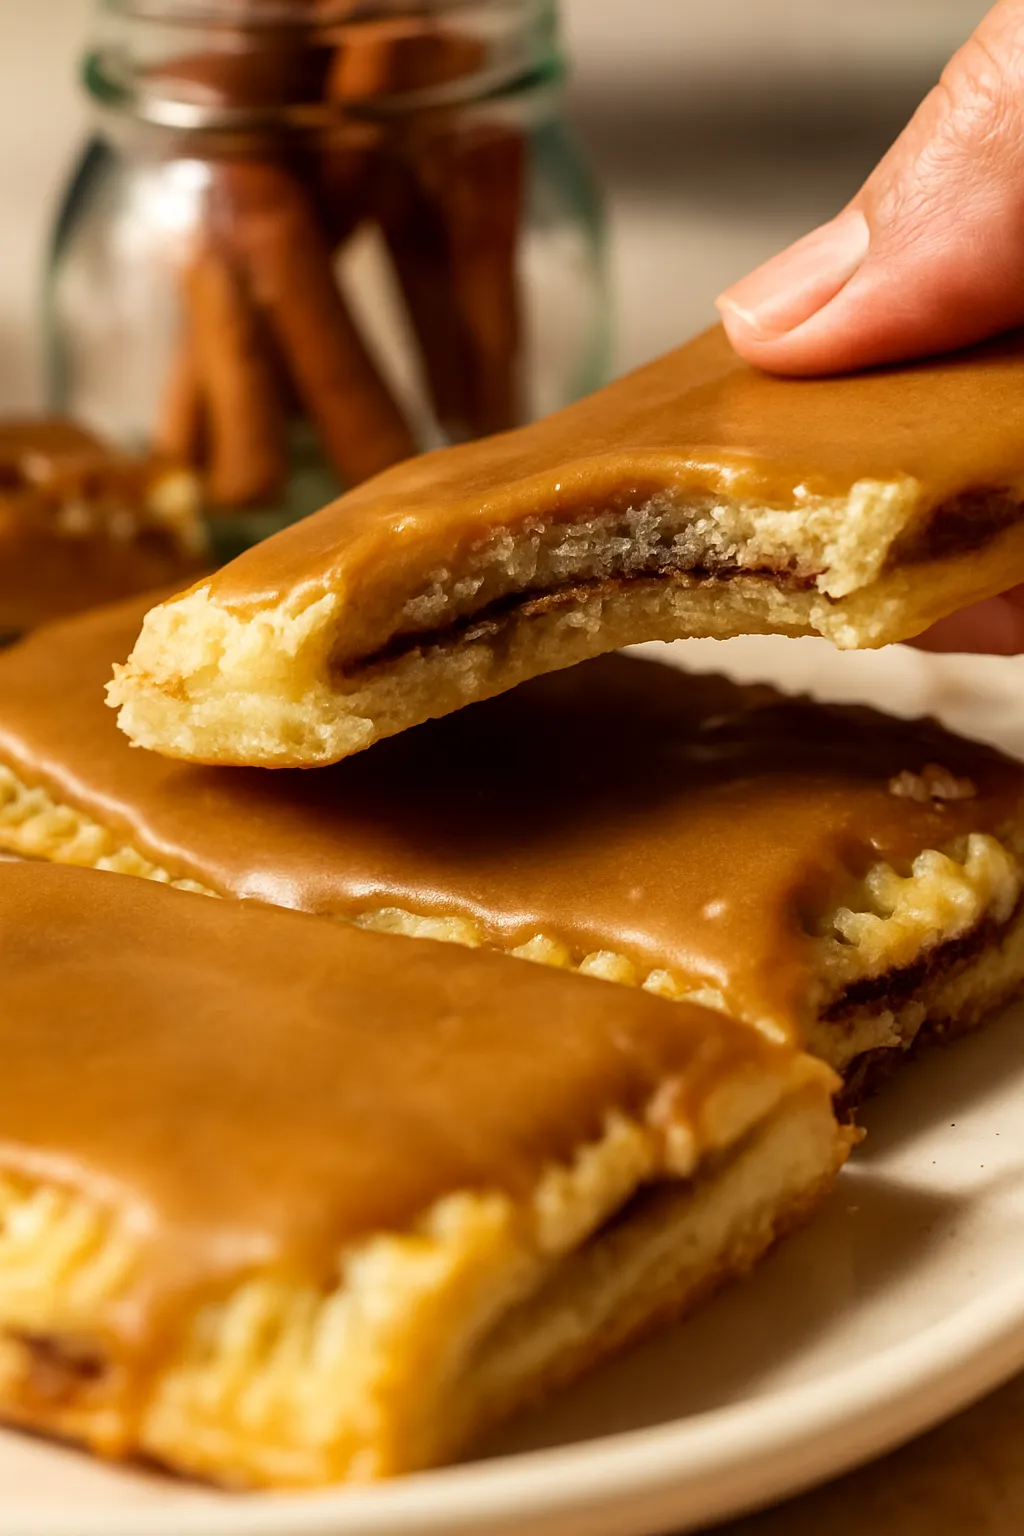
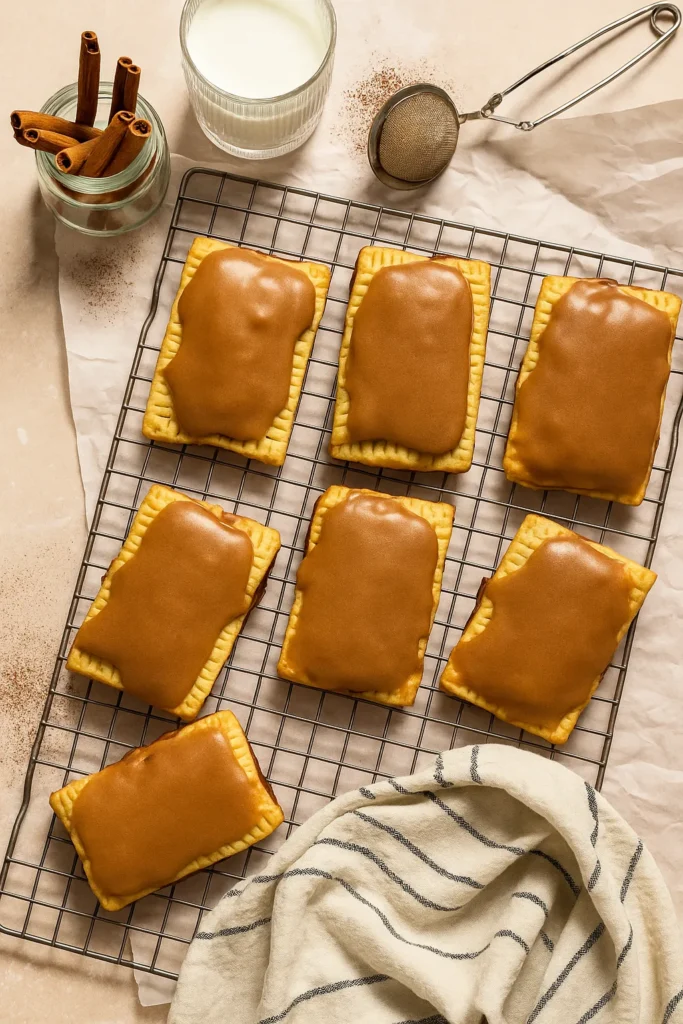
Craving the nostalgic taste of brown sugar pop tarts? Skip the store-bought version and create these delectable pastries in your own kitchen.

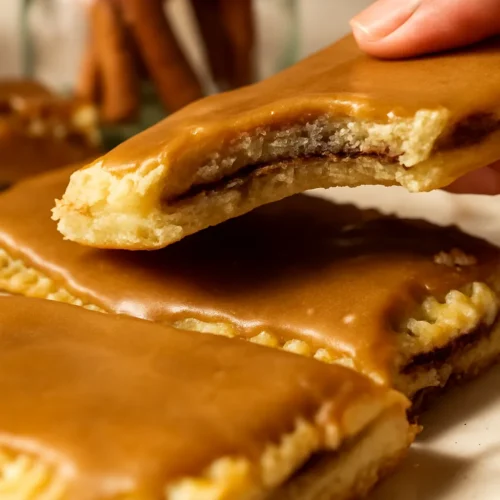
These homemade treats feature a buttery, flaky crust filled with a rich brown sugar-cinnamon mixture, topped with a sweet glaze that perfectly complements the filling.
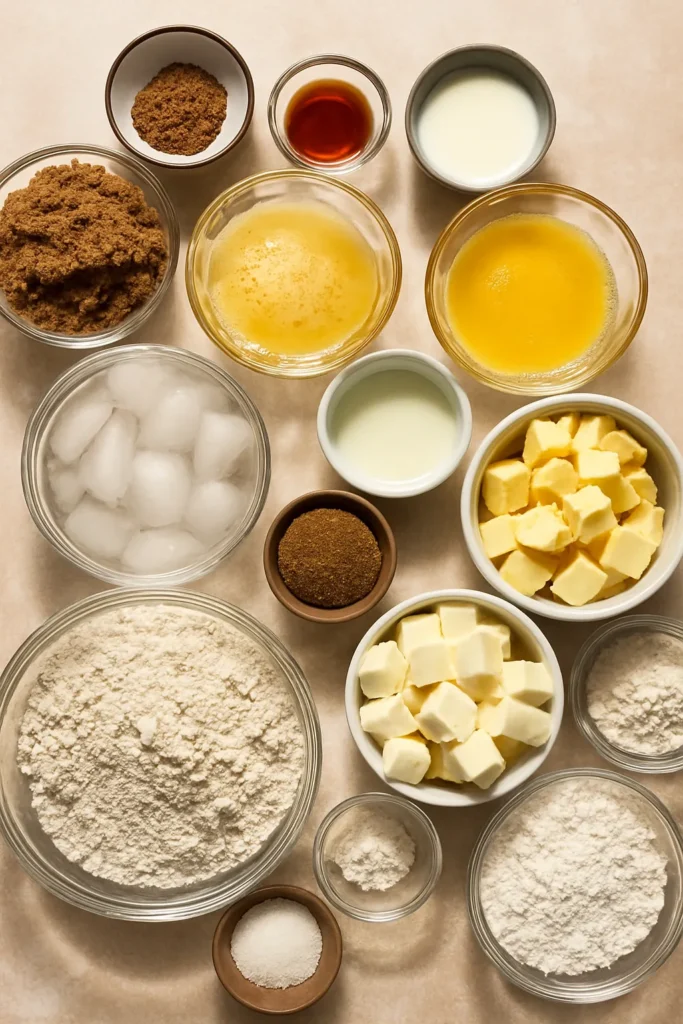
Ingredients List
For the Pastry Dough
- 2 1/2 cups all-purpose flour
- 1 Tbsp powdered sugar (optional)
- 2 tsp kosher salt (or 1 tsp fine salt)
- 1/2 cup unsalted butter, cold and cubed
- 1/2 cup vegetable shortening, cold and cubed
- 6-8 Tbsp ice cold water
For the Brown Sugar Filling
- 3/4 cup dark brown sugar
- 1 1/2 tsp ground cinnamon
- 1 1/2 Tbsp all-purpose flour
- 1 tsp kosher salt
- 3-4 Tbsp melted unsalted butter
- 1 tsp vanilla extract
- 1 egg (for egg wash)
For the Glaze
- 1 cup powdered sugar
- 1/4 cup brown sugar
- 2 Tbsp light corn syrup
- 1-2 Tbsp whole milk
- 1/2 tsp ground cinnamon
- 1/2 tsp vanilla extract
Required Kitchen Tools
To create these delicious brown sugar pop tarts, you’ll need the following equipment:
- Food Processor: Essential for creating the perfect pastry dough
- Rolling Pin: For rolling out the dough to the correct thickness
- Baking Sheets: At least 2 large sheets for preparation and baking
- Parchment Paper: For lining baking sheets
- Measuring Tools: Both dry and liquid measuring tools
- Pastry Cutter or Ruler: For cutting uniform rectangles (3.5 x 4.75 inches)
- Pastry Brush: For applying egg wash
- Whisk: For mixing filling and glaze
- Fork: For crimping edges and creating vent holes
- Cooling Rack: For cooling pop tarts after baking
Dough Preparation
Making the Pastry Dough
- Combine flour, powdered sugar, and salt in a food processor with quick pulses
- Add cold butter and shortening cubes, pulse until mixture resembles coarse crumbs
- Gradually add ice water, 1 tablespoon at a time, until dough comes together
- Form dough into two disks, wrap in plastic
- Refrigerate for at least 1 hour or overnight
Preparing the Filling
- Mix brown sugar, cinnamon, flour, and salt in a bowl
- Stir in melted butter and vanilla extract until well combined
- Set aside until ready to use
Assembly and Baking
Shaping and Filling
- Remove one disk from refrigerator, let rest 5-10 minutes
- Roll dough on floured surface into 1/4-inch thick rectangle
- Cut into 3.5 x 4.75-inch rectangles
- Place half the rectangles on parchment-lined baking sheet
- Spoon 1 tablespoon filling into center of each rectangle
- Leave 1/2-inch border around edges
- Brush borders with egg wash
- Top with remaining rectangles
- Seal edges firmly with fork tines
- Prick tops with fork to create vent holes
Baking Instructions
- Preheat oven to 375°F (190°C)
- Place assembled pop tarts in refrigerator for 15 minutes
- Brush tops with remaining egg wash
- Bake for 20-25 minutes until golden brown
- Rotate pan halfway through baking
- Cool completely on wire rack before glazing
Finishing Touches
Preparing the Glaze
- Whisk powdered sugar, brown sugar, and corn syrup
- Add milk gradually until desired consistency
- Stir in cinnamon and vanilla
- Glaze should be thick but spreadable

Decorating and Storage
Glazing Technique
- Once pop tarts are completely cool, place them on wire rack
- Pour glaze over each pop tart
- Use offset spatula to spread evenly
- Allow glaze to set for 30-60 minutes
- Add sprinkles or additional toppings if desired (optional)
Storage Instructions
Room Temperature Storage
- Store in airtight container
- Keeps fresh for 3-4 days
- Layer with parchment paper between pop tarts
- Keep away from direct sunlight and heat
Freezing Instructions
- Freeze unglazed pop tarts for up to 3 months
- Wrap individually in plastic wrap
- Place in freezer-safe container
- Thaw overnight before glazing
Pro Tips and Variations
Troubleshooting
- If dough becomes too warm, return to refrigerator for 15 minutes
- If filling leaks, seal edges more firmly next time
- If glaze is too thick, add milk 1/2 teaspoon at a time
- If glaze is too thin, add more powdered sugar
Flavor Variations
- Add chopped nuts to filling
- Mix in maple syrup for maple-brown sugar flavor
- Include finely diced apples for apple-cinnamon version
- Try different glaze flavors like maple or vanilla
brown sugar pop tarts
Ingredients
For the Pastry Dough
- 2 1/2 cups all-purpose flour
- 1 Tbsp powdered sugar (optional)
- 2 tsp kosher salt (or 1 tsp fine salt)
- 1/2 cup unsalted butter, cold and cubed
- 1/2 cup Vegetable shortening, cold and cubed
- 6-8 Tbsp ice cold water
For the Brown Sugar Filling
- 3/4 cup dark brown sugar
- 1 1/2 tsp ground cinnamon
- 1 1/2 Tbsp all-purpose flour
- 1 tsp kosher salt
- 3-4 Tbsp melted unsalted butter
- 1 tsp vanilla extract
- 1 egg (for egg wash)
For the Glaze
- 1 cup powdered sugar
- 1/4 cup brown sugar
- 2 Tbsp light corn syrup
- 1-2 Tbsp whole milk
- 1/2 tsp ground cinnamon
- 1/2 tsp vanilla extract
Instructions
Make Dough
- Pulse flour/sugar/salt + cold butter/shortening + ice water → wrap & chill 1 hour
Mix & Roll
- Combine brown sugar/cinnamon/butter for filling + roll dough into rectangles
Assemble
- Place filling on half the rectangles + cover + seal edges + prick tops + chill
Bake
- 375°F for 20-25 minutes until golden brown + cool completely
Finish
- Mix glaze + pour over cooled tarts + let set 30 minutes + store
Conclusion
These homemade brown sugar pop tarts offer a delicious upgrade from store-bought versions.
With their buttery crust, rich filling, and sweet glaze, they’re perfect for breakfast, snack time, or whenever you need a comforting treat.
While they require some time and patience to prepare, the result is well worth the effort. Enjoy them fresh or store them for later – either way, they’re sure to become a family favorite.