Easy Brownie in a Mug Recipe

Craving a rich, chocolatey treat but don’t want to bake an entire pan? Let me show you how I make an easy brownie in a mug—ready in just a few minutes! This recipe is perfect for when you want a warm, fudgy brownie without the fuss. With simple ingredients you likely already have in your kitchen, it’s quick, indulgent, and absolutely satisfying.
Ingredients List
Here’s everything you need to whip up this single-serving brownie:
3 tablespoons unsweetened cocoa powder
3 tablespoons all-purpose flour
3 tablespoons granulated sugar
1 heaping pinch kosher salt
3 tablespoons milk
2 ½ tablespoons vegetable oil
¼ teaspoon vanilla extract
2 tablespoons semi-sweet chocolate chips (plus extra for topping, optional)
These measurements are perfectly portioned for one decadent brownie, but you can easily double or triple them if you’re serving friends or family.
Required Kitchen Tools
Making a brownie in a mug is as much about convenience as it is about taste. Here’s what I use every time:
Microwave-Safe Mug – A sturdy mug that can handle the heat without cracking is essential. I prefer one with at least 12 oz capacity to prevent overflow.
Spoon or Small Whisk – For mixing the dry and wet ingredients together until smooth.
Measuring Spoons – Accurate measurements are key to a perfectly fudgy brownie.
Microwave – The magic happens here! A 1-minute microwave cook time is all you need for a warm, gooey treat.
With these simple tools, you’re all set to make a chocolatey indulgence in minutes.
Mixing and Cooking the Brownie
Making this brownie in a mug is super simple, and I love how quick it is—no oven, no mess, just a few minutes from start to finish. Here’s how I do it:
Step 1: Mix the Dry Ingredients
I start by adding 3 tablespoons of cocoa powder, 3 tablespoons of flour, 3 tablespoons of sugar, and a pinch of salt directly into my mug. Using a spoon or small whisk, I stir them together until the mixture is uniform and free of lumps. This ensures that every bite has a consistent chocolatey flavor.
Step 2: Add the Wet Ingredients
Next, I pour in 3 tablespoons of milk, 2 ½ tablespoons of vegetable oil, and ¼ teaspoon of vanilla extract. I gently stir everything together until I have a smooth, thick batter. The batter should be rich and slightly glossy, which is exactly what makes this mug brownie so fudgy.
Step 3: Fold in the Chocolate Chips
Finally, I add 2 tablespoons of semi-sweet chocolate chips to the batter. I like to save a few extra to sprinkle on top before microwaving—this gives the brownie a melty, irresistible chocolate layer that makes it extra decadent.
Step 4: Microwave to Perfection
I place the mug in the microwave and cook on high for 60–70 seconds. Timing can vary depending on your microwave’s power, so I keep an eye on it. The brownie should rise slightly and look set on top but still soft and gooey in the center. Be careful not to overcook—it continues to firm up as it cools.
Serving, Toppings, and Tips for the Perfect Mug Brownie
I love this part because the brownie is ready in minutes, but adding a few extra touches makes it feel like a decadent dessert straight from a café.
Step 1: Add Toppings
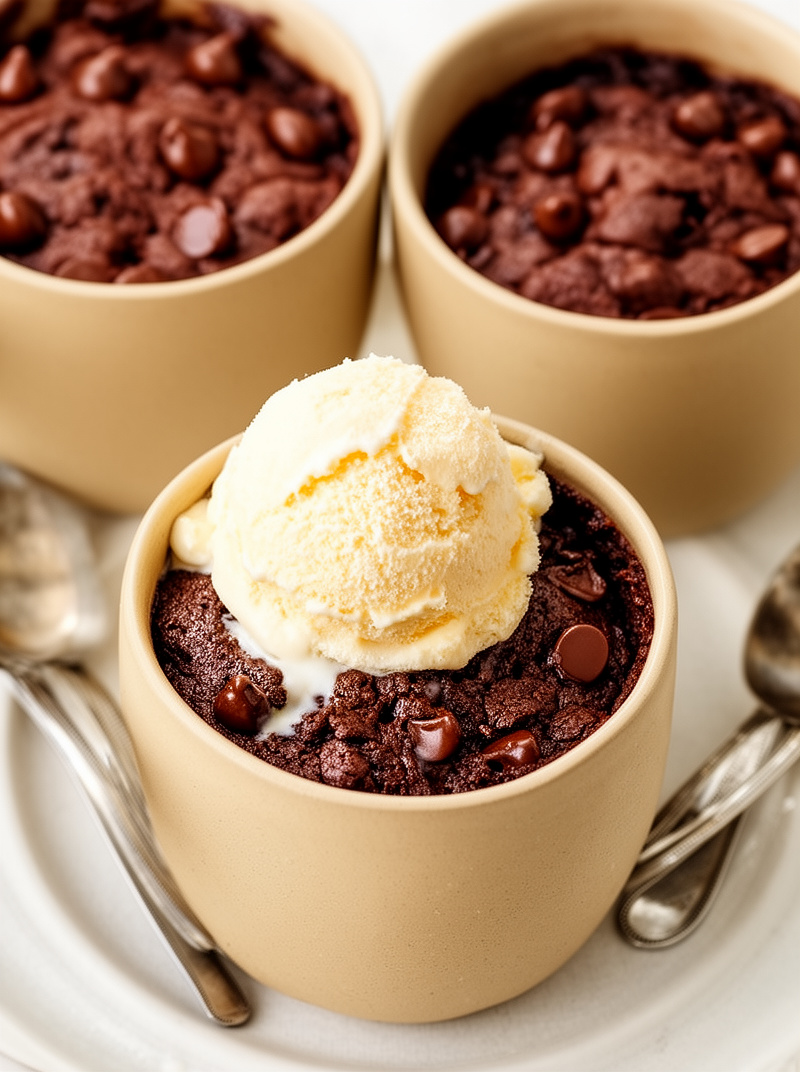
After microwaving, I like to sprinkle a few extra chocolate chips on top while the brownie is still warm so they melt slightly. Sometimes I add a scoop of vanilla ice cream or a dollop of whipped cream—this contrast between warm, gooey chocolate and cold, creamy topping is unbeatable. For a little extra flair, you can dust the top with powdered sugar or drizzle some chocolate syrup.
Step 2: Eating Tips
I usually grab a spoon and dig right in while it’s warm. If you want a slightly firmer texture, you can let the brownie cool for a few minutes; it will set more but still stay soft in the middle. Because it’s a single-serving mug brownie, there’s no need to worry about leftovers—it’s the perfect solo indulgence.
Pro Tips for a Perfect Mug Brownie
Don’t overmix – Mixing too much can make the brownie cakier instead of fudgy.
Watch your microwave – Every microwave is different. Start with 60 seconds, then check. Add extra 5–10 seconds if needed.
Experiment with mix-ins – Nuts, caramel bits, or peanut butter swirls make it fun and customizable.
Use a larger mug – The batter rises quickly, so a bigger mug prevents messy overflow.
With these tips, I can consistently make a mug brownie that’s soft, fudgy, and chocolatey every time.
Storage, Variations, and Final Thoughts
Even though I usually eat my mug brownie immediately (because who can resist?), it’s good to know how to store it or tweak the recipe for different cravings.
Storage Instructions
Since this is a single-serving brownie, I don’t recommend keeping it for long. However, if you make multiple mugs at once:
Room Temperature: Cover with plastic wrap or a small lid and store for up to 1 day.
Reheating: Microwave for 10–15 seconds to warm it back up—perfect for that fresh-from-the-microwave taste.
Fun Variations
I love experimenting with flavors, and these tweaks keep the recipe exciting:
Nutty Brownie: Add chopped walnuts or pecans for extra crunch.
Mocha Brownie: Stir in ¼ teaspoon instant coffee for a rich coffee-chocolate combo.
Peanut Butter Swirl: Drop a teaspoon of peanut butter in the center before microwaving for a creamy surprise.
Berry Bliss: Top with fresh raspberries or strawberries for a fruity twist.
Final Thoughts
Making an easy brownie in a mug is my go-to for a quick, indulgent treat. It’s fast, requires minimal ingredients, and satisfies chocolate cravings immediately. Whether you stick to the classic fudgy version or get creative with mix-ins and toppings, this mug brownie is the ultimate solo dessert.
So grab your favorite mug, whip up this simple batter, and enjoy a warm, gooey chocolate moment any time you want—it’s dessert happiness in under 5 minutes!