Healthy Pear Crisp With Fresh Pears
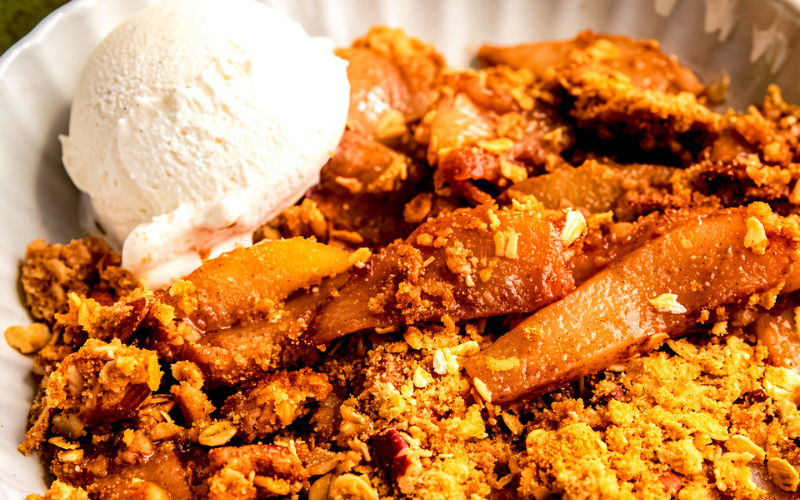
Craving a cozy, naturally sweet dessert that feels indulgent but won’t weigh you down? My Healthy Pear Crisp With Fresh Pears is the answer. Bursting with tender, juicy pears and topped with a lightly spiced, buttery crumble, this recipe is perfect for fall afternoons, family dinners, or whenever you need a comforting treat. Unlike heavy desserts, it relies on fresh fruit and a touch of natural sweetness, making it both satisfying and wholesome.
Ingredients List
Pear Filling Ingredients
6 cups fresh pears, sliced
½ cup butter, melted (or to taste)
2 tablespoons maple syrup
Crisp Topping Ingredients
2 cups all-purpose flour (add more if needed)
1 cup brown sugar
½ cup white sugar
1 teaspoon ground cinnamon
½ teaspoon ground nutmeg
¼ teaspoon vanilla extract
½ cup butter, softened
Required Kitchen Tools
To make this pear crisp effortlessly, I rely on a few key kitchen tools:
Baking Dish – I use an 8x8-inch or 9x9-inch dish to layer the pears and crumble perfectly.
Mixing Bowls – One for the pear filling, another for the topping, so everything blends evenly.
Measuring Cups & Spoons – Accurate measurements are crucial for a crisp that isn’t too sweet or too dry.
Pastry Cutter or Fork – Helps me combine butter into the topping to achieve a crumbly, buttery texture.
Oven Mitts & Cooling Rack – Essential for safely handling the hot dish and letting it cool slightly before serving.
Having these tools ready makes the process smooth and stress-free.
Preparing the Pear Filling
The pear filling is the heart of this crisp. Here’s how I do it:
Slice the Pears: I start by washing, peeling (optional), and slicing 6 cups of fresh pears into even pieces for uniform baking.
Combine Ingredients: In a large bowl, I mix the sliced pears with ½ cup melted butter and 2 tablespoons maple syrup until all the pears are lightly coated. This adds natural sweetness and prevents them from drying out in the oven.
Optional Flavor Boost: For extra depth, I sometimes sprinkle a pinch of cinnamon or a few drops of vanilla extract into the filling.
Once ready, the pears go straight into the baking dish, forming a juicy base for the crisp topping.
Making the Crisp Topping
A good crisp topping is buttery, crumbly, and lightly spiced. I follow these steps:
Mix Dry Ingredients: In a medium bowl, I whisk together 2 cups flour, 1 cup brown sugar, ½ cup white sugar, 1 teaspoon cinnamon, and ½ teaspoon nutmeg.
Add Butter & Vanilla: I cut in ½ cup softened butter using a pastry cutter or fork until the mixture resembles coarse crumbs. Then, I stir in ¼ teaspoon vanilla extract for a subtle aroma.
Adjust Texture: If the topping feels too dry, I add a teaspoon or two of cold water or butter to get the perfect crumbly consistency.
The topping is now ready to generously cover the pear layer.
Assembling and Baking the Pear Crisp
Layer Pears: I pour the prepared pear mixture evenly into the baking dish.
Add the Topping: Using my hands or a spoon, I sprinkle the crumbly topping evenly over the pears, covering them completely but leaving some texture exposed for a rustic look.
Bake: I preheat the oven to 350°F (175°C) and bake the crisp for 35-40 minutes until the topping is golden brown and the pears are bubbling around the edges.
Cool Slightly: After baking, I let the pear crisp cool for 10-15 minutes on a cooling rack so it firms up slightly before serving.
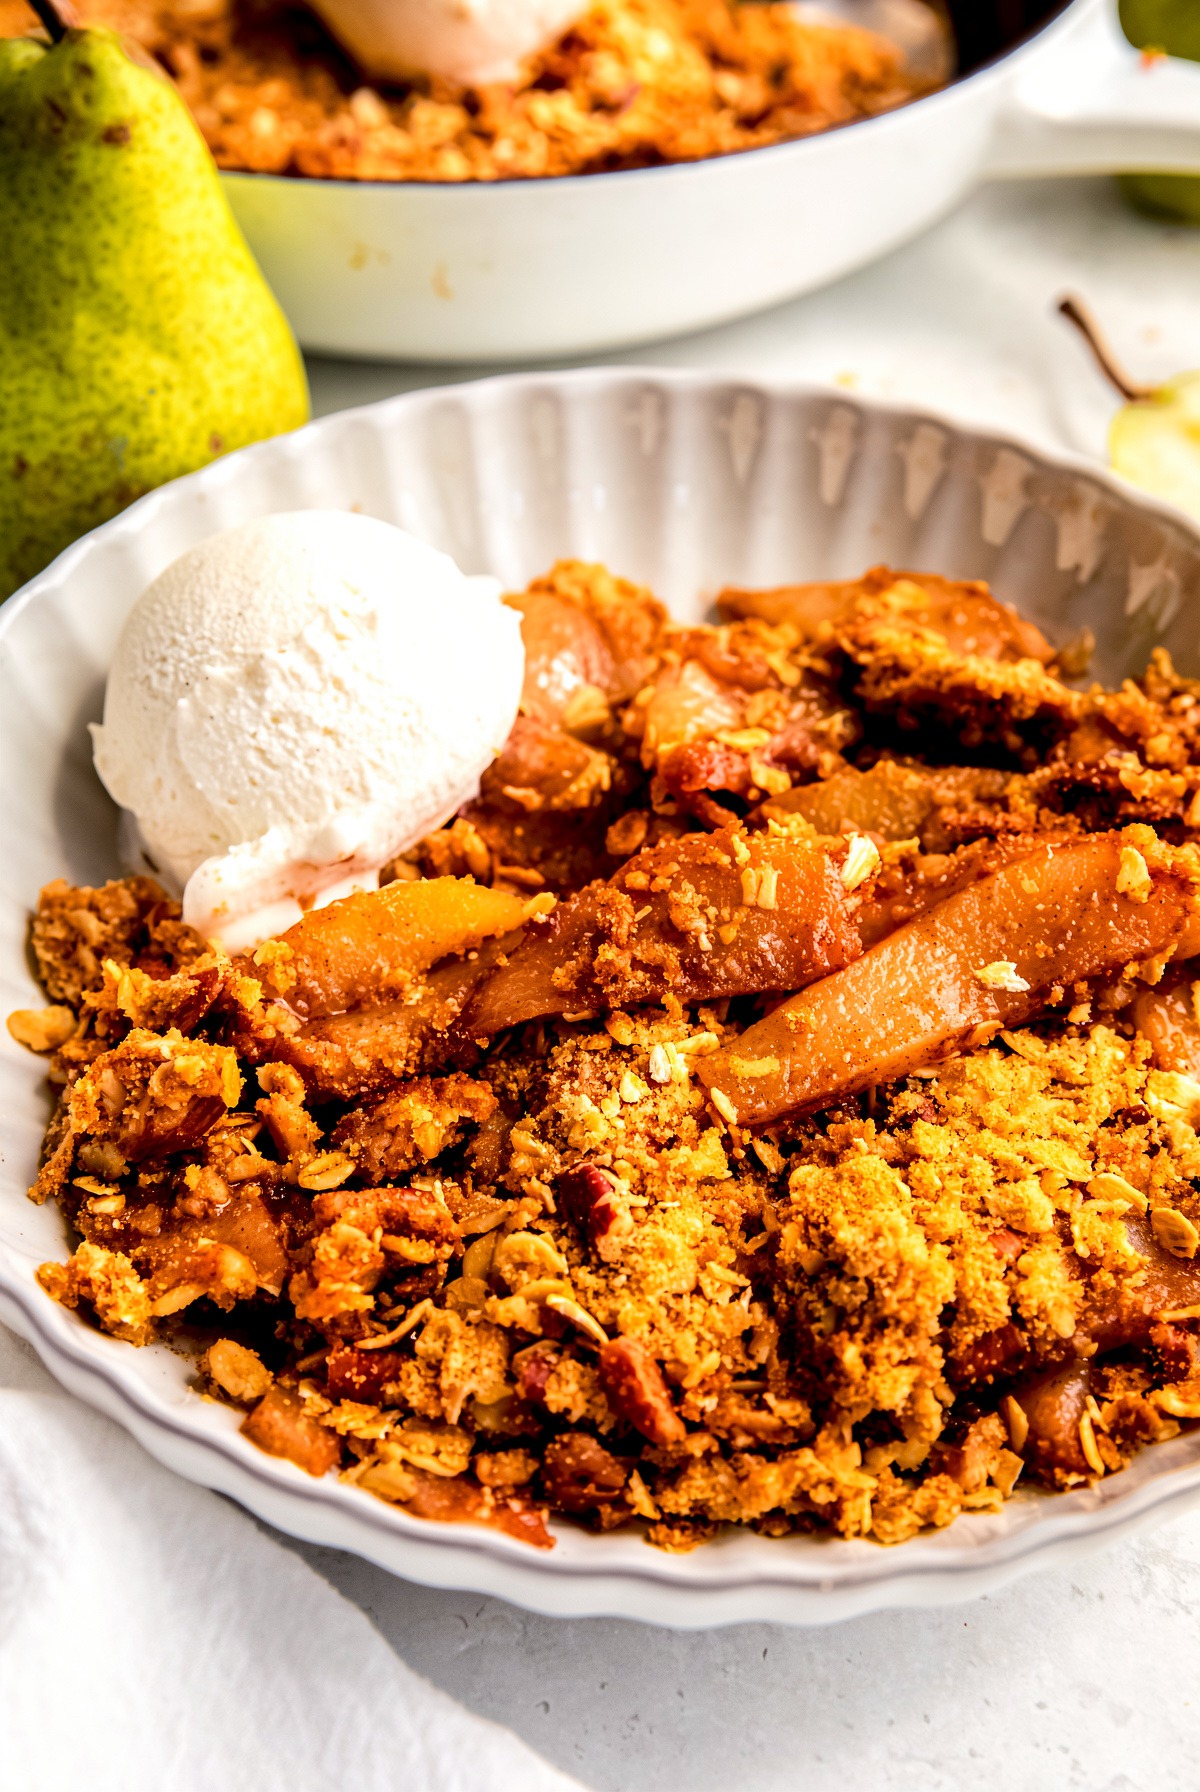
Serving and Decoration
I love serving this pear crisp warm, either on its own or with a dollop of Greek yogurt or a scoop of vanilla ice cream. A light dusting of cinnamon on top makes it extra inviting.
Toppings I Recommend:
Chopped toasted nuts for added crunch
A drizzle of extra maple syrup for sweetness
Fresh mint leaves for color and freshness
Storage Instructions
Keeping the Crisp Fresh
I store leftover pear crisp in an airtight container in the refrigerator for up to 3 days. To reheat, I warm individual portions in the oven or microwave until the topping is crisp and the pears are soft again.
Freezing Pear Crisp
If I want to enjoy it later, I assemble the crisp but don’t bake it. I cover it tightly with foil and freeze for up to 1 month. When ready, I bake it straight from frozen, adding 10-15 minutes to the baking time.
Conclusion
Creating a Healthy Pear Crisp With Fresh Pears is my go-to comfort dessert that balances sweetness, spice, and wholesome ingredients. The juicy pears paired with a buttery, lightly spiced topping make every bite irresistible. By following these steps, anyone can enjoy a naturally sweet dessert that feels indulgent yet nourishing. Whether it’s a weeknight treat or a special occasion dessert, this pear crisp is guaranteed to delight everyone at the table.