Craving a bite-sized treat that melts in your mouth and bursts with fruity flavor?
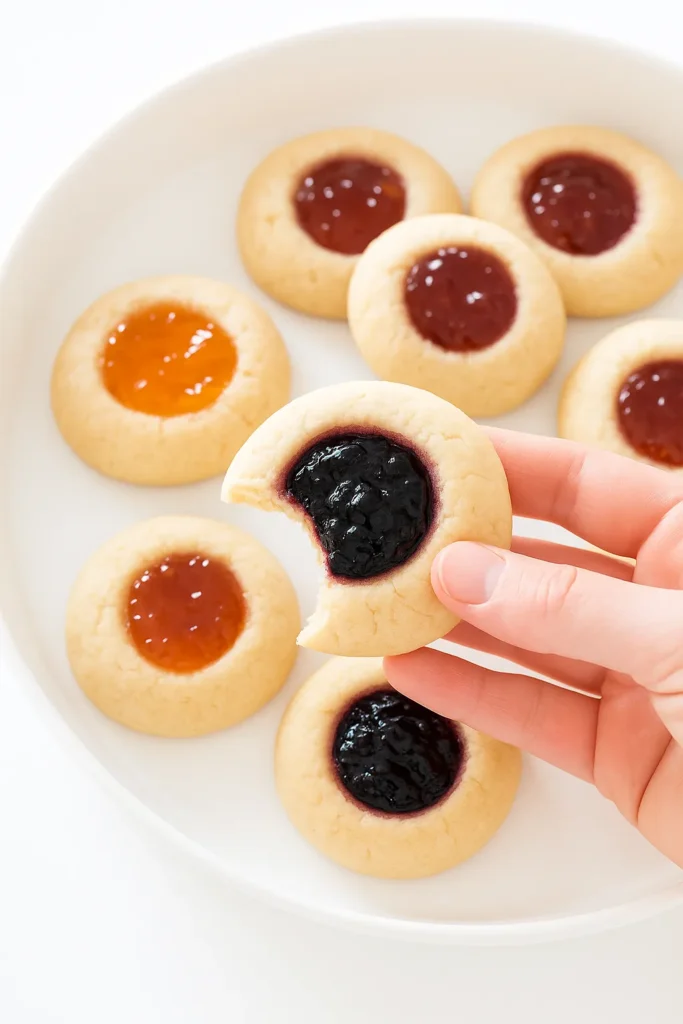
Thumbprint cookies are a timeless favorite, combining rich, buttery shortbread with the sweet tang of jam.
These cookies are not only delicious, but also incredibly easy to make—perfect for holidays, tea time, or an everyday indulgence.
Ingredients List
Creating perfect thumbprint cookies requires a handful of essential ingredients to bring together that soft, crumbly texture and jam-filled sweetness. Here’s everything you’ll need for this delightful recipe:
Dough Ingredients
- 1 cup unsalted butter, softened
- 2/3 cup granulated sugar
- 1 egg yolk
- 1 teaspoon vanilla extract
- 1/4 teaspoon salt
- 2 1/4 cups all-purpose flour
- 1/2 cup jam or preserves (e.g., strawberry, blueberry, apricot)
Required Kitchen Tools
To bake thumbprint cookies successfully and efficiently, having the right kitchen tools can make the entire process much easier and more enjoyable:
- Stand Mixer or Hand Mixer: To cream the butter and sugar and mix the dough thoroughly.
- Mixing Bowls: Use at least two—one for mixing dry ingredients and one for creaming wet ingredients.
- Baking Sheets: Two standard-size baking sheets lined with parchment paper or silicone baking mats.
- Measuring Spoons & Cups: Essential for accurate measurements of both wet and dry ingredients.
- Teaspoon or Thumb: To create the signature indentation in each cookie.
- Small Spoon: Ideal for neatly filling each cookie with jam.
Dough Preparation
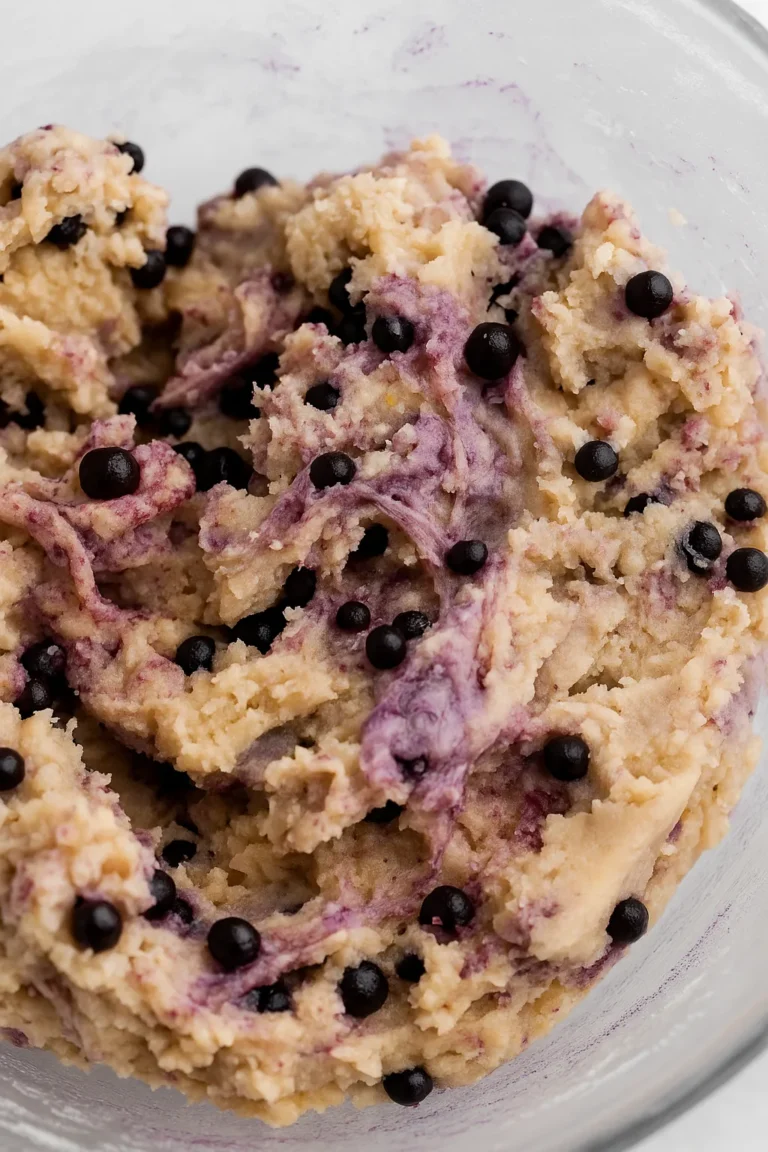
Creating the perfect thumbprint cookie dough is all about achieving that buttery, crumbly texture that holds its shape while still melting in your mouth. Follow these steps to prepare the dough with ease and precision.
Mixing the Ingredients
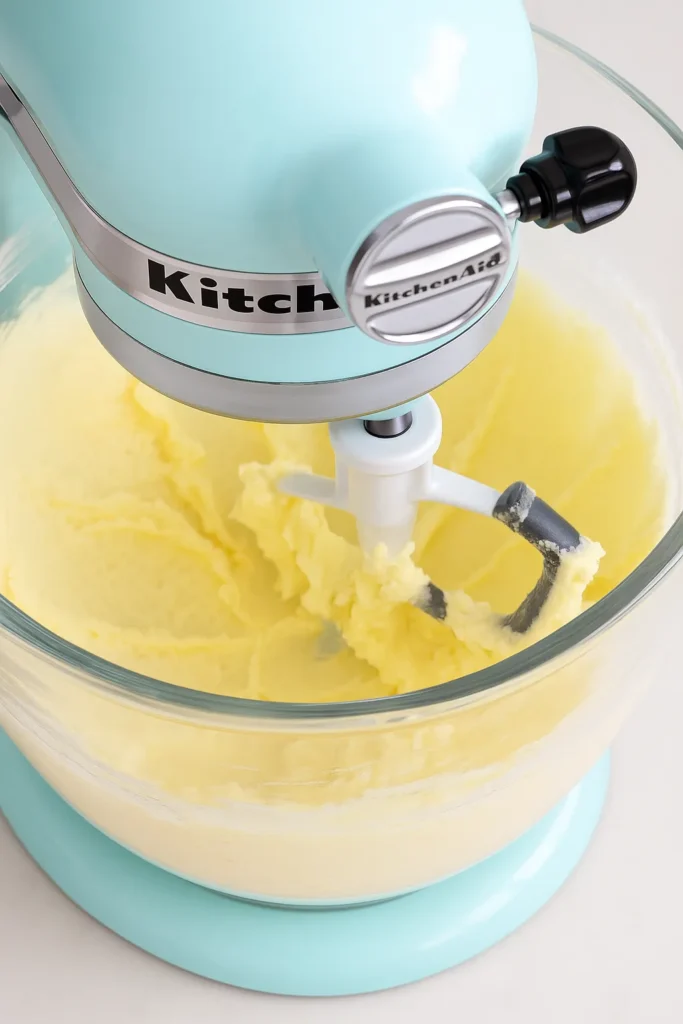
Begin by preheating your oven to 350°F (175°C) and lining two baking sheets with parchment paper or silicone baking mats. In the bowl of a stand mixer fitted with the paddle attachment, cream the softened butter and granulated sugar on medium speed for 1–2 minutes, until light and fluffy.
Add in the egg yolk and vanilla extract, and continue to mix until everything is well incorporated. Use a rubber spatula to scrape down the sides of the bowl to ensure even mixing.
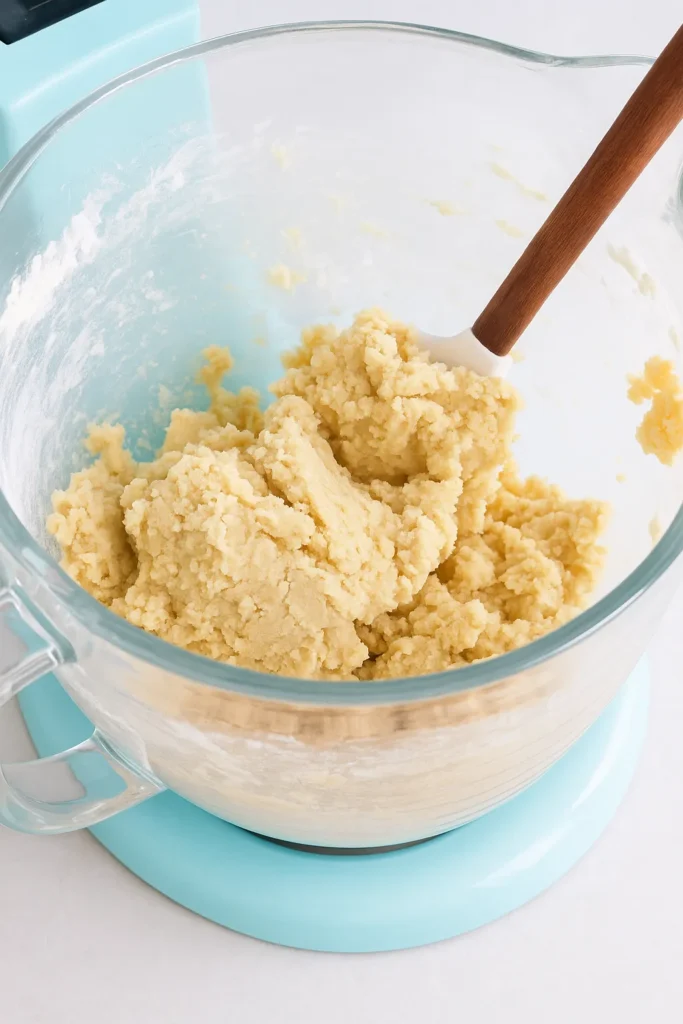
Next, add the salt and all-purpose flour. Mix on low speed until the dough comes together. At first, the dough may appear dry and crumbly—this is normal. Continue mixing until you achieve a uniform consistency. The dough should be soft, yet firm enough to shape without sticking to your hands.
Shaping the Cookies
Once your dough is ready, it’s time to shape the cookies:
- Scoop and Roll Dough Balls:
Use a tablespoon to scoop out portions of dough and roll each into a smooth ball between your palms. Place the balls about 2 inches apart on the prepared baking sheets. - Create the Thumbprint Indentation:
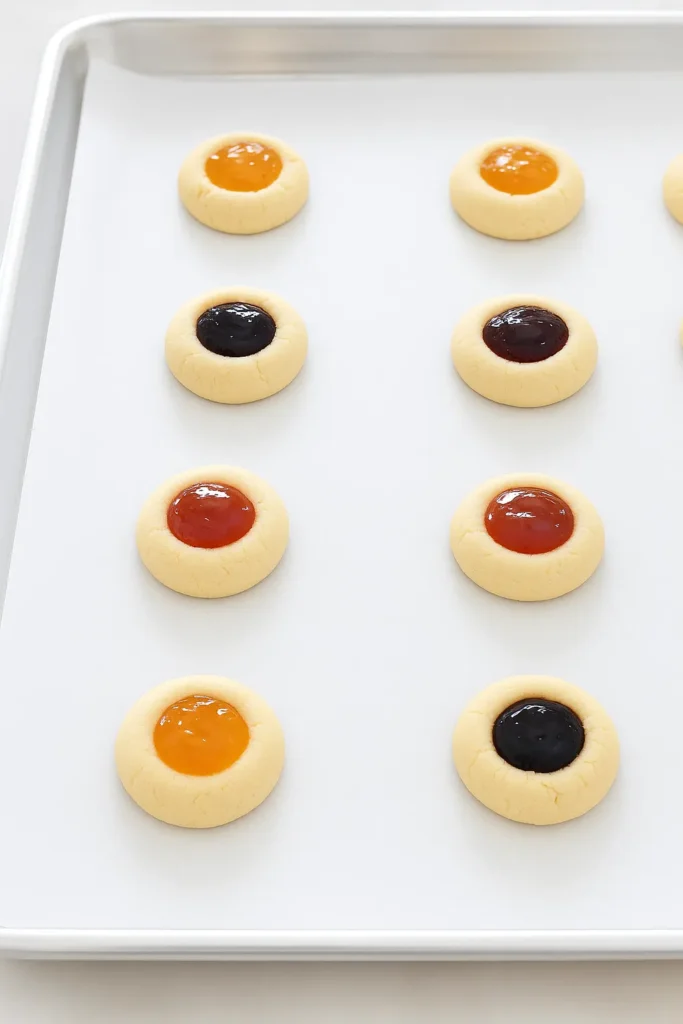
Gently press your thumb—or use the back of a 1/2 teaspoon measuring spoon—into the center of each dough ball to create a well for the jam. Be careful not to press too deep or crack the sides. - Add the Jam Filling:
Spoon about 1/2 teaspoon of your preferred jam or preserve into the center of each cookie. You can use a variety of jams like strawberry, blueberry, or apricot to add visual variety and flavor options.
Baking the Cookies
With your cookies shaped and filled, it’s time to bake them to golden perfection. This step brings all the flavors and textures together—crispy edges, a tender crumb, and gooey jam centers.
Baking Time and Tips
Place the prepared baking sheets in the preheated 350°F oven and bake the cookies for 8–10 minutes, or until the edges are just beginning to turn a light golden brown. The cookies should look set but remain soft in the center.
Baking Tips:
- Avoid overbaking. Thumbprint cookies are best when they’re still pale and slightly soft; they will continue to set as they cool.
- Rotate the baking sheets halfway through for even baking.
- If the jam sinks a little during baking, you can gently top off the centers with a touch more jam immediately after removing the cookies from the oven.
Once baked, remove the cookies from the oven and allow them to cool completely on the baking sheet. This helps them firm up without breaking apart.
Serving and Decoration
Presentation can take your thumbprint cookies from simple to stunning. While they’re already charming with their jewel-toned centers, a few finishing touches can make them even more festive and elegant.
Suggested Toppings and Coatings
- Powdered Sugar Dusting: Lightly dusting the cooled cookies with powdered sugar adds a snowy, elegant touch—perfect for holiday platters.
- Glaze Drizzle: For a decorative twist, drizzle the cookies with a simple glaze made of powdered sugar and milk or lemon juice.
- Chocolate Accent: Add a drizzle of melted white or dark chocolate over the cooled cookies for added richness and visual flair.
Storage Instructions
Thumbprint cookies are a great make-ahead treat and store wonderfully, maintaining their buttery texture and fruity centers for days.
How to Keep Thumbprint Cookies Fresh
To keep your cookies fresh:
- Room Temperature: Store cooled cookies in an airtight container at room temperature for up to 5 days. Place parchment paper between layers to prevent sticking.
- Refrigeration (Optional): If your kitchen is warm or humid, you can refrigerate the cookies to extend freshness. Just allow them to come to room temperature before serving for best flavor and texture.
Freezing Thumbprint Cookies
Thumbprint cookies freeze beautifully:
- To Freeze Baked Cookies: Place the cooled cookies in a single layer on a baking sheet and freeze until solid. Transfer to a freezer-safe container or zip-top bag with parchment paper between layers. Freeze for up to 2 months. Thaw at room temperature before serving.
- To Freeze Unbaked Dough Balls: Shape the cookie dough into balls and make indentations, but do not fill with jam. Freeze them on a tray, then store in a sealed bag. When ready to bake, thaw slightly, add jam, and bake as directed.
Thumbprint Cookies
Ingredients
- 1 cup unsalted butter, softened
- 2/3 cup granulated sugar
- 1 egg yolk
- 1 teaspoon vanilla extract
- 1/4 teaspoon salt
- 2 1/4 cups all-purpose flour
- 1/2 cup jam or preserves (e.g., strawberry, blueberry, apricot)
Instructions
- Preheat your oven to 350°F (175°C). Line two baking sheets with parchment paper or silicone baking mats and set aside.
- In a stand mixer fitted with the paddle attachment, cream 1 cup softened unsalted butter and 2/3 cup granulated sugar until light and fluffy (about 1–2 minutes).
- Add 1 egg yolk and 1 teaspoon vanilla extract to the creamed mixture. Mix until well combined. Scrape down the sides of the bowl as needed.
- Add 1/4 teaspoon salt and 2¼ cups all-purpose flour to the mixture. Mix until a dough forms. It may look crumbly at first, but keep mixing until everything is fully incorporated.
- Scoop out 1-tablespoon portions of dough and roll them into smooth balls. Place them spaced apart on the prepared baking sheets.
- Use your thumb or the back of a ½ teaspoon to gently press an indentation into the center of each cookie ball.
- Fill each indentation with about ½ teaspoon of your favorite jam or preserve. Strawberry, blueberry, and apricot are classic choices.
- Bake the cookies for 8–10 minutes, or until the edges are set and lightly golden. Do not overbake.
- Let the cookies cool completely on the baking sheets before transferring them to a container or serving.
Conclusion
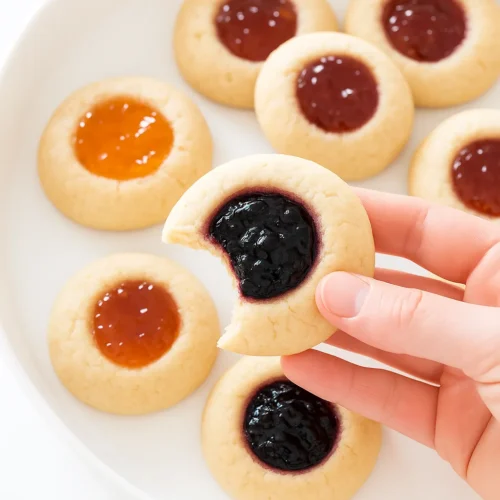
Making thumbprint cookies at home is a rewarding and delightful experience. With their buttery shortbread base and jewel-like centers of jam, these cookies offer a perfect balance of flavor and texture.
With easy-to-follow steps, customizable fillings, and excellent make-ahead potential, thumbprint cookies are a go-to treat for both beginner bakers and seasoned pros.
So gather your ingredients, choose your favorite jam, and get baking—because these little bites of joy are too good to resist!