Classic Tuna Melt Sandwich Recipe
Craving a warm, cheesy comfort food that’s perfect for lunch or a quick dinner? Let me take you through my Classic Tuna Melt Sandwich Recipe—a gooey, flavorful sandwich that combines flaky tuna, creamy mayo, crisp vegetables, and melted cheese, all hugged by buttery toasted bread. This recipe is easy to make at home and always hits the spot when you’re craving something satisfying yet simple.
Ingredients List
Tuna Salad Ingredients
4 (5-ounce) cans drained tuna
2/3 cup mayonnaise
2 small ribs celery, finely diced
1 garlic clove, finely minced
1 tablespoon finely minced capers
1 small dill pickle, diced (about ¼–1/3 cup)
½ small red onion, peeled and finely diced (about ½ cup)
1 tablespoon finely minced fresh dill
Juice of ½ lemon (about 1 ½ tablespoons)
Coarse salt and freshly cracked black pepper, to taste
Sandwich Ingredients
4 tablespoons unsalted butter
8 slices white bread
8 slices American or cheddar cheese
Required Kitchen Tools
To make the perfect tuna melt sandwich, having the right tools can make the process smoother and more enjoyable. Here’s what I always keep on hand:
Mixing Bowl – For combining the tuna salad ingredients.
Spoon or Spatula – To mix the tuna gently without breaking it up too much.
Cutting Board & Knife – For chopping veggies and pickles.
Skillet or Nonstick Pan – For toasting the sandwich to golden, melty perfection.
Spatula – To flip the sandwiches carefully without losing the cheesy filling.
Preparing the Tuna Salad
Making the tuna salad is the heart of a great tuna melt. Here’s how I do it:
Mixing the Ingredients
In a medium mixing bowl, I combine the drained tuna, mayonnaise, diced celery, garlic, capers, dill pickle, red onion, fresh dill, and lemon juice. I gently stir everything together until well combined, making sure not to mash the tuna too much. Then, I season it with coarse salt and freshly cracked black pepper to taste.
Adjusting the Flavor
Tuna melts are all about balance. I taste my tuna salad and add more lemon juice or salt as needed. The tang from the pickles and capers really brightens the flavor, while the mayo keeps it creamy.
Assembling the Sandwiches
Here’s where the magic happens:
Butter the Bread:
I spread a generous layer of unsalted butter on one side of each slice of bread. This will help achieve that golden, crispy exterior when cooking.Layer the Ingredients:
On the unbuttered side of four slices, I spoon a hearty amount of the tuna salad. Then, I top it with a slice of American or cheddar cheese. Finally, I place the remaining bread slices on top, buttered side facing out.
Cooking the Tuna Melt
Cooking the tuna melt properly ensures it’s perfectly crispy on the outside and melty inside.
Skillet Method
I heat a nonstick skillet over medium heat. Once warm, I place the sandwiches in the pan. I cook each side for about 3–4 minutes, pressing gently with a spatula, until the bread is golden brown and the cheese has melted. I flip carefully to toast both sides evenly.
Tips for a Perfect Melt
Cook over medium heat to avoid burning the bread before the cheese melts.
Covering the skillet with a lid for 1–2 minutes helps the cheese melt evenly.
For extra crispiness, I sometimes toast the buttered bread separately before adding the tuna and cheese.
Serving the Tuna Melt
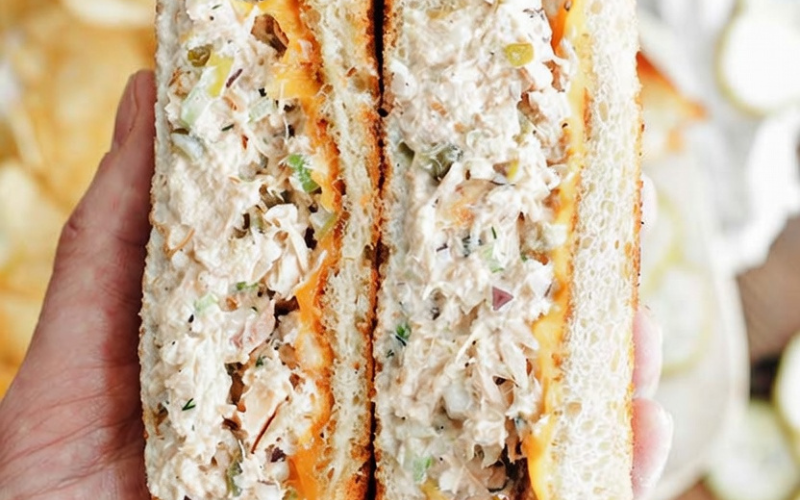
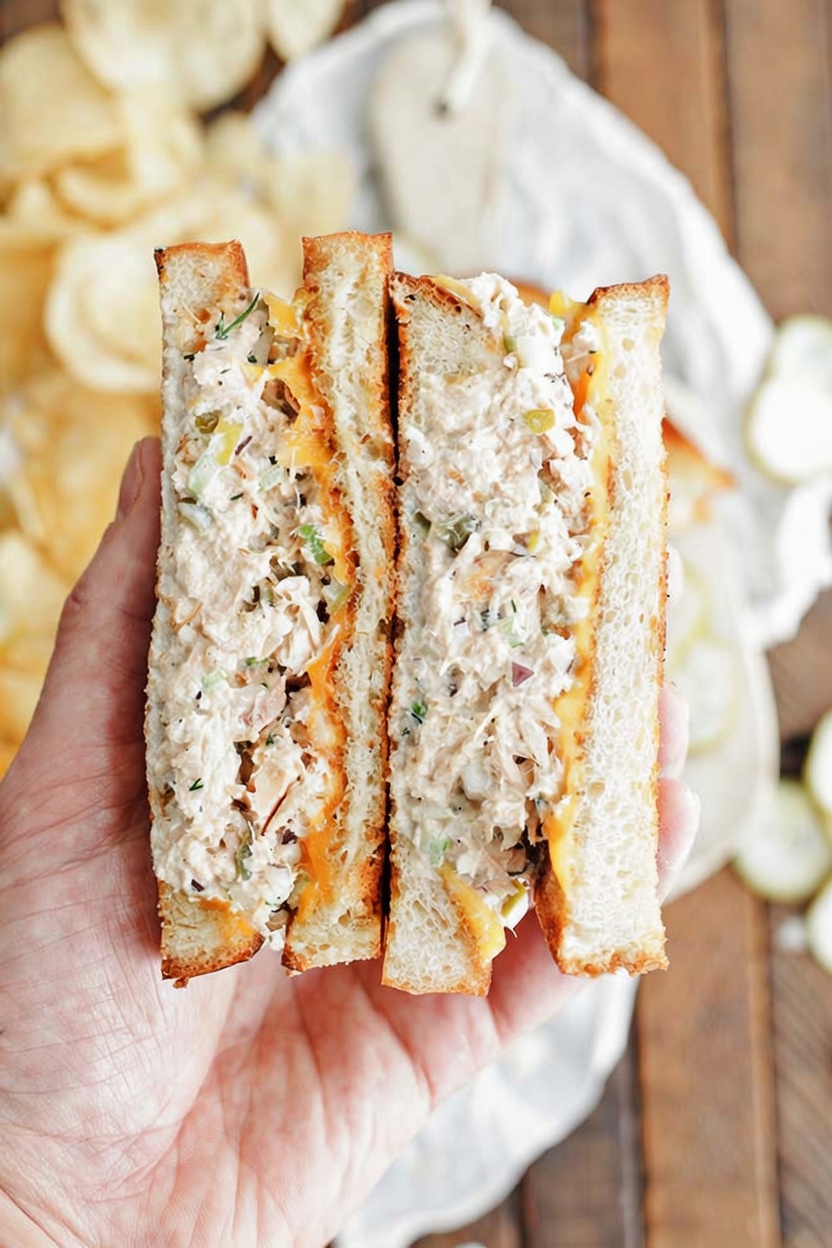
Once cooked, I slice the sandwiches diagonally for that classic diner look. Tuna melts are best served immediately while warm and gooey. For a complete meal, I like to serve mine with a side of pickles, potato chips, or a fresh green salad.
Optional Toppings
Sliced tomatoes or avocado for extra freshness
A sprinkle of paprika or hot sauce for a subtle kick
Extra fresh dill on top for garnish
Storage Instructions
Keeping Tuna Salad Fresh
If I have leftover tuna salad, I store it in an airtight container in the fridge for up to 3 days. Avoid storing already-assembled sandwiches, as the bread can get soggy.
Reheating Tips
If you want to enjoy a leftover tuna melt, I re-toast it in a skillet or oven rather than the microwave. This keeps the bread crisp and the cheese melty.
Conclusion
Mastering a Classic Tuna Melt Sandwich is all about balance—the creamy tuna salad, tangy pickles and capers, melted cheese, and buttery toasted bread. With this recipe, you can enjoy a warm, comforting sandwich in under 30 minutes. Whether it’s a quick lunch, cozy dinner, or late-night snack, this tuna melt always hits the spot. Trust me, once you make it at home, you’ll never settle for a plain tuna sandwich again!