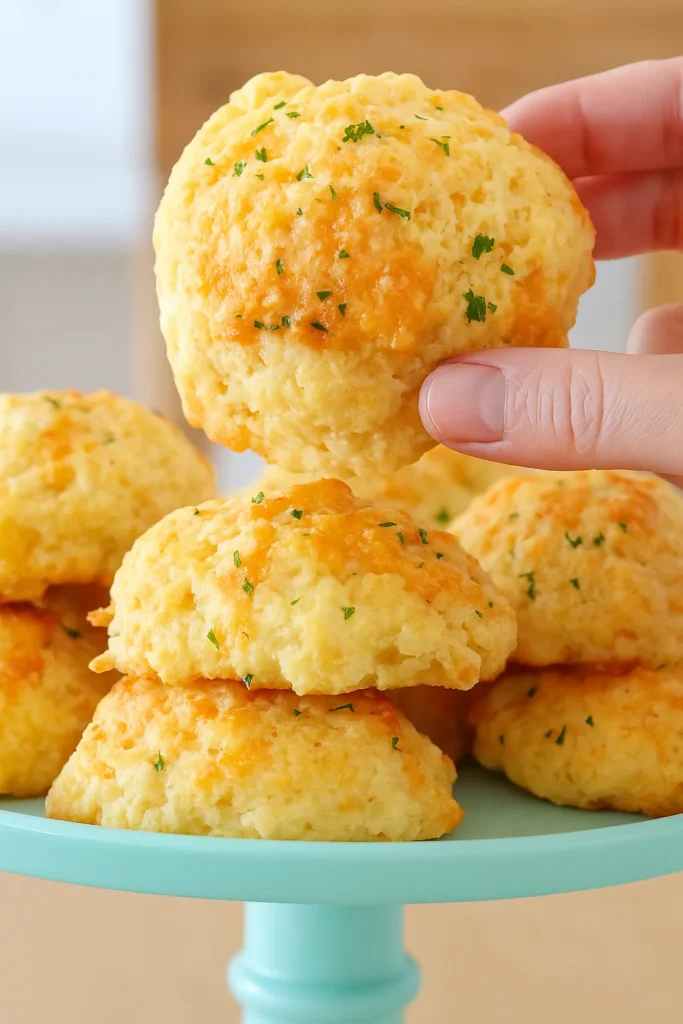
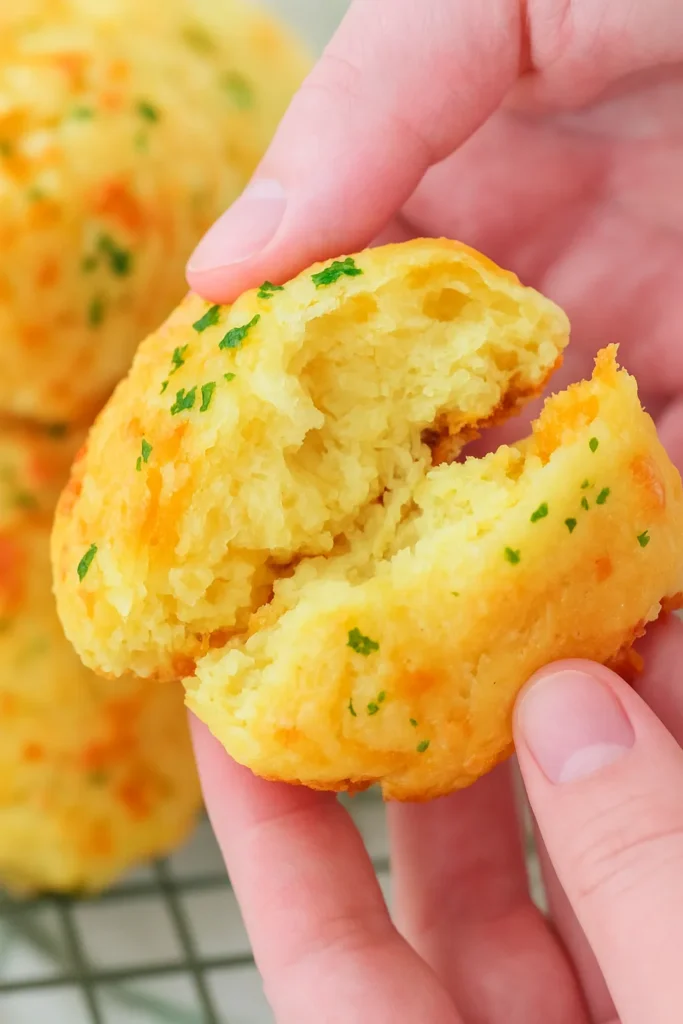
Craving warm, flaky comfort? These Cheddar Biscuits are the perfect savory treat, loaded with sharp cheddar cheese, buttery layers, and a touch of garlic and herbs.
served with a hearty meal or enjoyed on their own, these golden, fluffy biscuits bring irresistible flavor straight from your oven.
With simple ingredients and easy steps, you’ll bake up a batch that’s sure to impress.
Ingredients List
Creating the perfect Cheddar Biscuits requires a careful mix of ingredients that add both texture and taste. Let’s explore what you’ll need for each part of this savory delight.
Biscuit Dough Ingredients
- 2 cups all-purpose flour
- 2 teaspoons baking powder
- ½ teaspoon baking soda
- 1 teaspoon sugar
- ¾ teaspoon table salt
- 6 Tablespoons butter (melted)
- 4 Tablespoons cold butter (grated)
- 4 oz. cheddar cheese (grated)
- 1 cup buttermilk or kefir (cold)
Garlic Butter Topping
- 2 Tablespoons butter
- 1–2 garlic cloves (smashed or minced)
- 1 Tablespoon fresh parsley (minced)
Required Kitchen Tools
To bake soft and golden Cheddar Biscuits with ease, make sure you have the right tools in your kitchen. Here’s what you’ll need:
- Large Mixing Bowl: For combining the dry ingredients and folding in the wet components.
- Whisk: To blend dry ingredients evenly.
- Box Grater: Essential for grating both butter and cheddar cheese.
- Measuring Cups & Spoons: Accuracy matters for perfect baking results.
- Rimmed Baking Sheet: For baking the biscuits without any spills.
- Parchment Paper: Prevents sticking and allows for easy cleanup.
- Pastry Brush: To brush the garlic butter over the freshly baked biscuits.
- ¼ Cup Measuring Cup or Ice Cream Scoop: Helps portion the biscuit dough evenly.
Dough Preparation
Making tender, flaky Cheddar Biscuits begins with careful preparation of the dough. These steps help ensure that every bite is rich, cheesy, and perfectly textured.
Mixing the Ingredients
Start by preheating your oven to 475°F (245°C) and lining a rimmed baking sheet with parchment paper. In a large mixing bowl, whisk together the flour, baking powder, baking soda, sugar, and salt until fully combined.
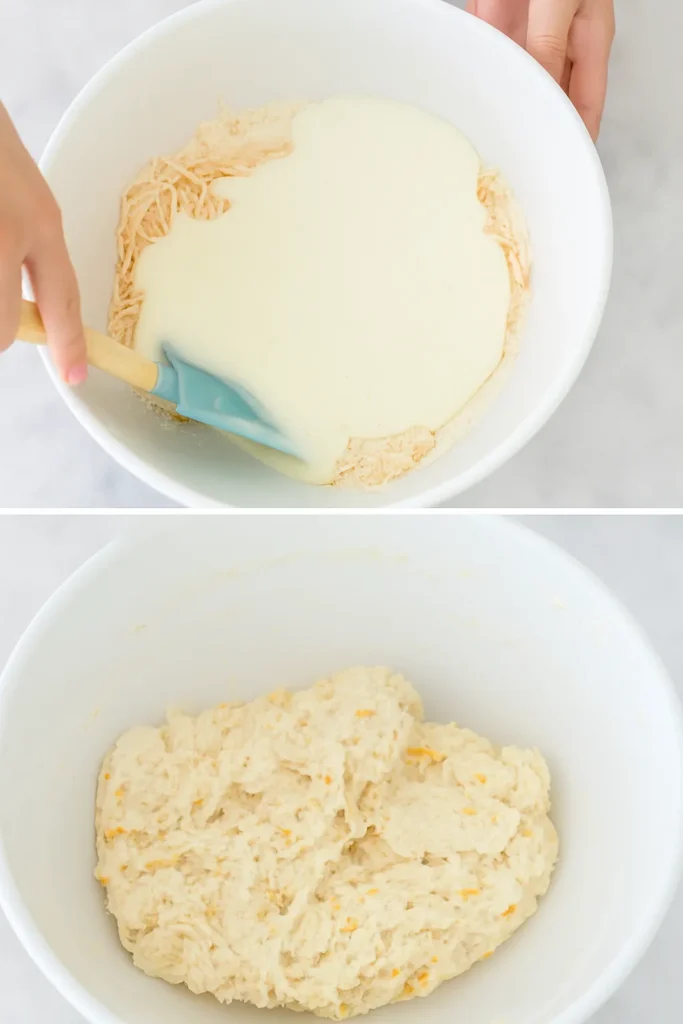
Melt 6 tablespoons of butter and set it aside to cool slightly. Meanwhile, grate the remaining 4 tablespoons of cold butter directly into the dry mixture. Add the grated cheddar cheese and gently mix to coat everything evenly with flour.
In a separate bowl, stir 4 tablespoons of the melted butter into the cold buttermilk or kefir. The cold temperature will cause the butter to solidify into tiny flakes, which is ideal for a tender, layered biscuit.
Combining and Mixing
Make a well in the center of the dry mixture. Pour in the buttermilk-butter blend and stir gently using a spatula or wooden spoon. Mix just until the dough is moistened and comes together—some dry patches are okay. Be careful not to overmix, as this can lead to tough biscuits.
By the end of this step, you should have a soft, slightly sticky dough that’s ready to be portioned and baked into golden, cheesy biscuits.
Shaping and Baking the Biscuits
Portioning and baking your biscuits correctly is key to getting that perfect rise and golden crust. Here’s how to get it right:
Shaping the Dough
To shape the biscuits easily and cleanly, use a ¼ cup measuring cup or an ice cream scoop. Lightly spray the inside of the scoop with oil to prevent sticking. Scoop out portions of the dough and drop them directly onto the prepared baking sheet, spacing them about 2 inches apart.
These are drop-style biscuits, so there’s no need to roll out or cut the dough. The rustic, craggy tops will help catch all that delicious garlic butter later.
Baking the Biscuits
Place the tray of biscuits in the preheated oven and bake for 12–14 minutes, or until the tops are golden brown and the edges are crisp. Keep an eye on them in the final minutes to avoid overbaking.
While the biscuits bake, melt the remaining 2 tablespoons of butter and stir in the minced garlic and parsley. This flavorful blend will serve as the finishing touch.
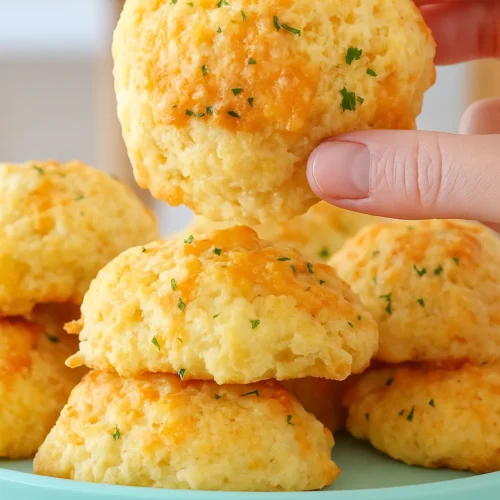
Once the biscuits come out of the oven, brush them generously with the garlic-parsley butter. The hot biscuits will absorb the savory topping, adding a burst of flavor and a glossy finish.
Serving and Storage
Once your biscuits are brushed with garlic-parsley butter, it’s time to serve and enjoy them while they’re warm and fresh.
Serving Suggestions
Cheddar Biscuits are best served warm straight out of the oven, when their crisp edges and gooey cheese centers are at their peak. They make the perfect side dish for soups, stews, or roasted meats, and they’re also delicious all on their own as a comforting snack.
You can also serve them with a spread of soft butter or a dollop of sour cream for extra indulgence.
How to Store Cheddar Biscuits
If you have leftovers, allow the biscuits to cool completely before storing them. Place them in an airtight container and store at room temperature for up to 2 days. Reheat in a 300°F oven for about 5–7 minutes to restore their warmth and texture.
Freezing Instructions
To freeze, wrap the baked and cooled biscuits individually in plastic wrap, then place them in a freezer-safe bag or container. They can be frozen for up to 1 month. To reheat, bake from frozen at 325°F for 10–12 minutes or until warmed through.
Cheddar Biscuits
Ingredients
Biscuit Dough
- 2 cups all-purpose flour
- 2 teaspoons baking powder
- ½ teaspoon baking soda
- 1 teaspoon sugar
- ¾ teaspoon table salt
- 6 Tablespoons butter (melted)
- 4 Tablespoons cold butter (grated)
- 4 oz. cheddar cheese (grated)
- 1 cup buttermilk or kefir (cold)
Garlic Butter Topping
- 2 Tablespoons butter
- 1–2 garlic cloves (smashed or minced)
- 1 Tablespoon fresh parsley (minced)
Conclusion
Cheddar Biscuits are a savory, cheesy comfort food that’s simple to make and always satisfying.
With golden tops, flaky layers, and a buttery garlic finish, they’re the kind of bake that disappears quickly from any table.
you’re serving them fresh, storing them for later, or freezing a batch in advance, this recipe ensures that homemade flavor is always within reach.