
Easy Garlic Knots Recipe From Scratch
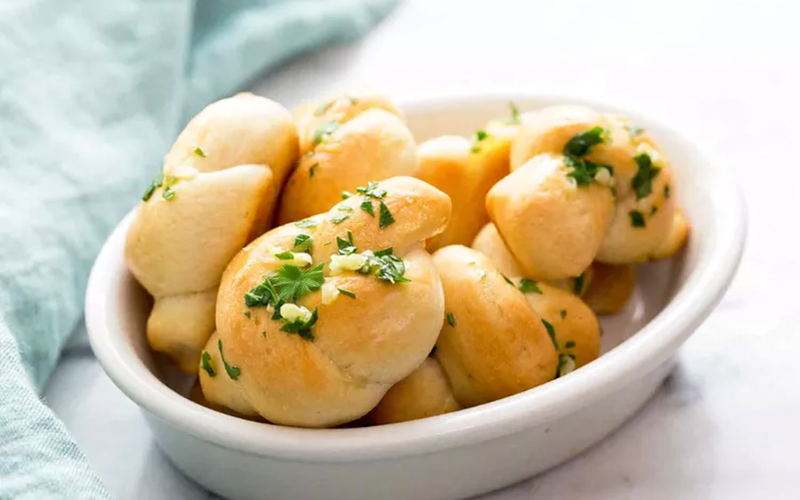
Craving warm, buttery, bakery-style bread straight from your oven? These Easy Garlic Knots From Scratch are soft, fluffy, and coated in rich garlic butter with fresh parsley. I love making these homemade garlic knots as a side for pasta night, game day snacks, or whenever I need

Why This Recipe Works
Craving warm, buttery, bakery-style bread straight from your oven? These Easy Garlic Knots From Scratch are soft, fluffy, and coated in rich garlic butter with fresh parsley. I love making these homemade garlic knots as a side for pasta night, game day snacks, or whenever I need a quick crowd-pleasing appetizer. The dough is simple, the knots are fun to shape, and the flavor is absolutely irresistible. If you’ve ever wanted to learn how to make garlic knots from scratch, this step-by-step recipe will guide you through the entire process with ease.
Ingredients
Main Ingredients
Main Ingredients
Step-by-Step Instructions
-
1
14 ounces pizza dough
-
2
Making garlic knots from scratch is easier than you think. I always start with properly activating the yeast to ensure a soft, airy texture.
-
3
I transfer the dough to a lightly floured surface and knead it for about 8–10 minutes until smooth and elastic. If using a stand mixer, I knead with a dough hook for about 5–6 minutes on medium speed.
-
4
Then, I place the dough in a lightly greased bowl, cover it with a clean kitchen towel, and let it rise in a warm place for about 1 hour, or until doubled in size.
-
5
If I’m using store-bought pizza dough, I skip this step and move straight to shaping.
-
6
Shaping is my favorite part — it’s simple and fun!
-
7
Divide the Dough:Once risen, I gently punch down the dough and divide it into 12 equal pieces.
-
8
Roll Into Ropes:I roll each piece into a rope about 6–8 inches long.
-
9
Tie Into Knots:I tie each rope into a simple knot, tucking the ends underneath.
-
10
Second Rise:I place the knots on a parchment-lined baking sheet, cover lightly, and let them rest for 20–30 minutes until slightly puffy.
-
11
This second rise ensures soft and fluffy garlic knots.
-
12
I preheat my oven to 400°F (200°C).
-
13
Before baking, I lightly brush the tops with olive oil. Then I bake the knots for 15–20 minutes, or until golden brown on top.
-
14
The aroma at this stage is absolutely incredible.
-
15
To freeze, I place cooled garlic knots in a freezer-safe bag and freeze for up to 2 months. When ready to enjoy, I reheat them in the oven until warmed through and brush with a little extra melted butter.
Storage & Make-Ahead Tips
Store in an airtight container at room temperature or in the refrigerator for up to 3-5 days.
Nutrition Facts (per serving)
Recommended Kitchen Equipment
Affiliate link disclosure: EatYay may earn a small commission at no additional cost to you.